
Last updated on February 8, 2026
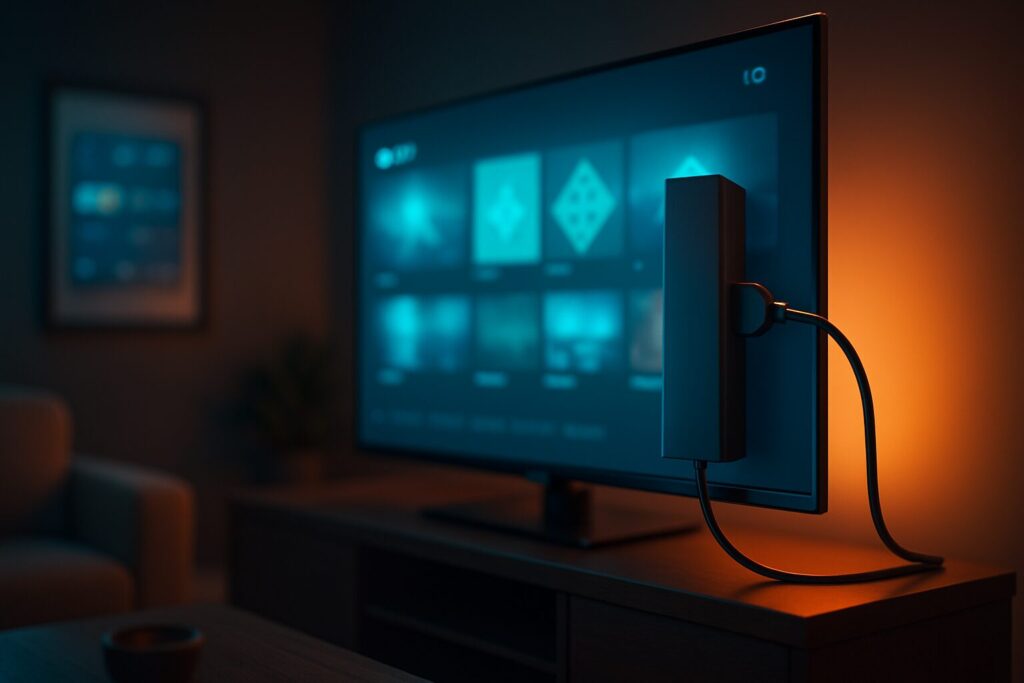
This is the definitive guide on how to install Kodi on a Fire Stick in 2026. The process I’m about to show you is fully compatible with every current Fire TV model, including the powerhouse Fire TV Stick 4K Max (3rd Gen), the standard Fire TV Stick, and the versatile Fire TV Cube (2025 Edition). Installing Kodi on your Fire TV device completely transforms it into an all-in-one media center, unlocking a universe of movies, TV shows, live TV, sports, and more—all managed from a single, clean interface.
In this tutorial, we’ll be focusing on the latest stable release, Kodi 22 “Piers”. Since Kodi isn’t available on the Amazon Appstore, we have to perform a process known as sideloading. Don’t let the technical term scare you; it’s a safe, simple method that will unlock your device’s true potential. Follow these steps, and you’ll be up and running in minutes.
Step 1: Security First (Set Up a VPN)
Before you install Kodi or any third-party addons, it’s critical to understand the importance of digital privacy in 2026. Your Internet Service Provider (ISP) can monitor your online activity, throttle your connection speed if they detect heavy streaming, and even block access to certain content sources. Furthermore, many community-built addons use P2P networks, which can expose your IP address to others.
A VPN (Virtual Private Network) is the only real solution. It encrypts your entire internet connection, hides your real IP address, and lets you bypass geo-restrictions to access content from other countries. In my extensive testing, a solid VPN not only boosts your security but often stabilizes your connection and helps prevent buffering issues on your Fire TV Stick by stopping ISP throttling in its tracks.
Step 2: Prep Your Fire TV Stick for Sideloading
To install apps that aren’t on Amazon’s official app store, we first need to enable a developer setting. This process is completely safe and easily reversible.
1. Enable Developer Options: Navigate to Settings > My Fire TV > About. Now, repeatedly click on your device’s name (e.g., “Fire TV Stick 4K Max”) until a message pops up saying, “Congratulations, you are now a developer!”
2. Allow Apps from Unknown Sources: Head back to the “My Fire TV” menu. You’ll see a new menu item: “Developer Options.” Go into it and turn on “Apps from Unknown Sources.” A warning will appear; just click “Turn On” to confirm.
With that, your device is ready to sideload APKs.
Step 3: How to Install Kodi on Fire Stick with Downloader (2026 Method)
The easiest and most reliable way to install Kodi is with a free app called Downloader. If you don’t have it, just search for it on the Amazon Appstore and install it.
- Launch the Downloader app on your Fire TV Stick.
- If it’s your first time opening it, you’ll be prompted to grant storage permissions. Click “Allow.”
- On the main screen, you’ll see a URL bar. Type in the official Kodi downloader URL for the Android version:
kodi.tv/download/android - Click “Go.” This will load Kodi’s official download page. Scroll down until you find the recommended build. For all modern Fire TV devices, you must select the ARMV8A (64-BIT) version. Click on it to begin the download.
- Once the download is complete, Downloader will automatically launch the installer. Click “INSTALL” in the bottom-right corner.
- When the installation finishes, you’ll see an “App installed” confirmation. Click “DONE” (not “OPEN” just yet).
- You’ll be sent back to Downloader, which will now ask if you want to delete the installation file (the .APK). I highly recommend deleting it to free up precious storage space on your device. Click “Delete” and confirm again.
Congratulations! You now have Kodi 22 “Piers” installed on your Fire TV Stick. You can find it in the “Your Apps & Channels” section of your home screen.
Step 4: Initial Setup & How to Install Addons
The first time you open Kodi, it will ask for permission to access your media files. Grant this permission for it to function correctly. The real power of Kodi lies in its addons—small programs that extend its capabilities.
Installing an Addon from the Official Kodi Repository
To get your feet wet safely, let’s install an official addon like YouTube. This will familiarize you with the process and show you the potential of safe Kodi repositories.
- Inside Kodi, navigate to the “Add-ons” tab on the left-hand menu.
- Click the open box icon (Package Installer) in the top-left corner.
- Select “Install from repository.”
- Choose the “Kodi Add-on repository,” which is the official repo that comes pre-installed.
- Browse to “Video add-ons” and find “YouTube” in the list.
- Select it and hit “Install.” Accept any dependencies it needs and wait for the process to complete.
You now have your first working addon. The same basic process applies to thousands of others.
Exploring Third-Party Addons
The Kodi ecosystem is massive, with thousands of addons created by the community. These can give you access to a huge variety of content. However, it’s crucial to be careful about where you install them from.
To install community-made addons, you first need to add a new file source and then install the source’s repository. This process unlocks access to some of the most popular addons for movies, TV shows, and sports. Always make sure you are getting repositories from trusted sources within the Kodi community to avoid security risks.
Conclusion
You now know exactly how to install Kodi on your Fire Stick in 2026 safely and efficiently. You’ve prepped your device, used the official URL for a clean download, and learned the basics of installing addons. Always remember to prioritize your security with a VPN and explore content responsibly.
Kodi is an incredibly versatile tool that, when configured correctly, will become the ultimate media hub for your home. Enjoy the experience!
Kodi is a legal, open-source software developed by the non-profit XBMC Foundation. This website (tecnoyfoto.com) is not affiliated with Kodi or the developers of any addons, repositories, or scripts mentioned. We do not host or distribute copyrighted content. The user is solely responsible for the use of this information and for verifying the legality of any content accessed in their region.