
Last updated on January 28, 2026
Finding that your Alexa won’t connect to WiFi is, without a doubt, one of the most frustrating smart home issues you can face in 2026. Whether your Amazon Echo is constantly dropping its connection or flat-out refusing to connect during the initial setup, the fix is usually simpler than you think. As an IoT Engineer with over a decade of hands-on experience, I’ve seen this problem hundreds of times. That’s why I’ve created this definitive guide to get you back online, covering everything from the most basic glitches to complex network conflicts.
Quick Diagnosis Chart: What’s Your Echo Trying to Tell You?
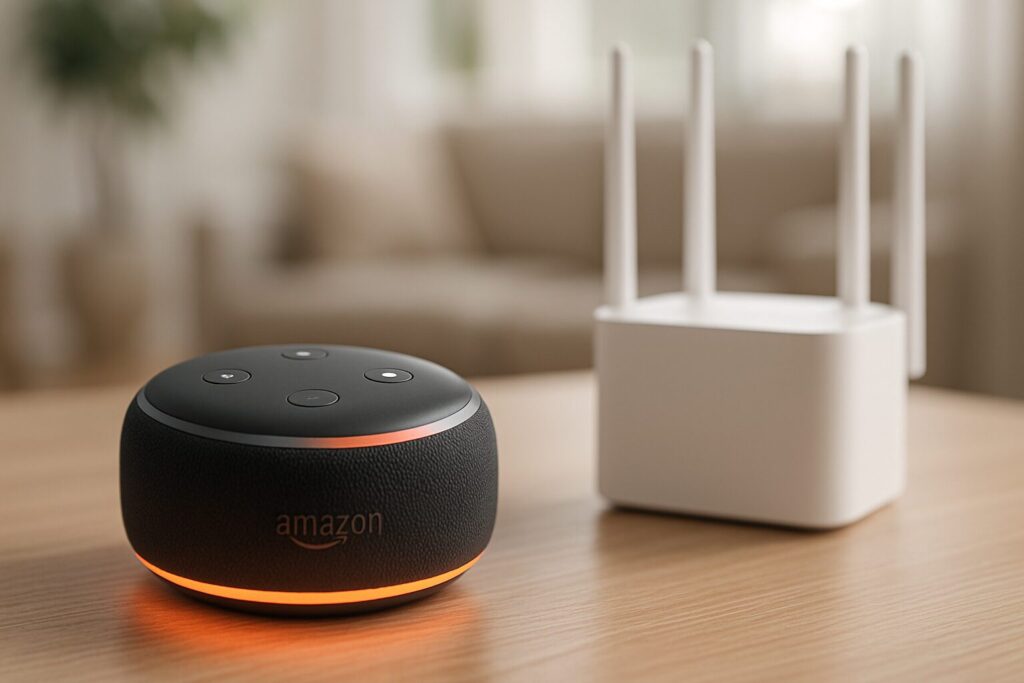
Before we dive into the solutions, let’s identify your Echo’s main symptom. That light ring is Alexa’s way of communicating what’s wrong.
| What You See (or Hear) | What It Likely Means | Quick Fix (Jump to Section) |
|---|---|---|
| Spinning orange light | The device is in setup mode and actively trying to connect to the network. This is normal during the initial WiFi configuration. | Follow the steps in the Alexa app. If it’s stuck, jump to the Fundamental Checks. |
| Solid red light ring | The microphone is turned off. Alexa can’t hear you, but this does not affect its internet connection. | Press the microphone button on top of the device. |
| Voice prompt: “I’m having trouble connecting to the internet” | It has lost the connection to your router, or the router itself has lost its connection to the internet. This is the most common Echo network problem. | Start with Step 1: The Fundamental Checks. |
| Device not showing in the app or setup fails repeatedly | This could be an incorrect password, poor WiFi signal, or an incompatibility with advanced network settings. | Review Step 2, and if that doesn’t work, skip ahead to Step 4. |
Step-by-Step Solutions: From Basic to Advanced
I’ve ordered these fixes from the simplest and most likely to the more complex. Follow them in order to save yourself time and a headache.
Step 1: The Fundamental ‘Power Cycle’ Checks
Often, the simplest solution is the right one. Before you start messing with complex settings, let’s do a full reboot cycle.
- Check your Internet Connection: Use your phone or a computer connected to the same WiFi network. Can you browse the web? If not, the problem is with your Internet Service Provider (ISP), not Alexa. Contact them.
- Reboot your Echo device: Unplug it from the power outlet, wait a full 30 seconds, and plug it back in. This simple restart fixes over 50% of intermittent connection issues.
- Reboot your Network Gear: Turn off your router and your modem (if they are separate devices). Wait for one full minute. Turn on the modem first and wait for all its lights to become stable (usually solid green or blue). Then, turn on the router. Wait another two minutes before checking if your Echo has reconnected.
Step 2: Dive into the Alexa App (2026 Interface)
If the basics didn’t work, the problem might be a configuration issue. Let’s use the app to investigate.
- Verify the WiFi Password: A simple typo is a very common culprit. In the Alexa app, go to
Devices> select your Echo device > tap the gear icon (Settings) > next toWi-Fi Network, tapChange. This will let you re-enter your password. Double-check that it’s correct. - Update the App: Head to the Apple App Store or Google Play Store and make sure you have the latest version of the Amazon Alexa app. Outdated versions can cause compatibility issues.
- Clear Saved Wi-Fi Passwords on Amazon: Sometimes, Amazon’s cloud service saves an old, conflicting password. Go to the Amazon website >
Accounts & Lists>Manage Your Content and Devices>Preferences. Find the “Saved Wi-Fi Passwords” option and delete any networks that might be causing trouble.
Step 3: Solving Signal Strength and Interference Issues
Your WiFi isn’t magic; it’s a radio signal that can be weakened or blocked.
- Move the Echo Closer to the Router: As a temporary test, move your Echo device into the same room as your router. If it connects instantly, you’ve found the problem: the signal is too weak in its original location.
- Hunt for Interference: Microwave ovens, large metal objects, concrete walls, and even other electronics like baby monitors can interfere with your WiFi signal. Try moving your Echo away from these items.
- The Permanent Fix for Bad Coverage: If distance is the issue, don’t rely on old-school WiFi extenders. These devices often create a secondary network (with “_EXT” in the name) that confuses IoT devices. In 2026, the definitive solution is a Mesh WiFi system. These systems create a single, powerful, and intelligent network throughout your entire home, perfect for devices like the Echo Dot 6th Gen or the Echo Show 15.
Step 4: Advanced Network Tweaks (Wi-Fi 6E/7, WPA3 & Mesh)
This is where my engineering background comes in handy. Modern networks are powerful, but sometimes they need a small adjustment to play nice with all your devices.
- Band Steering Issues (2.4 GHz vs. 5/6 GHz): Modern Wi-Fi 6E or Wi-Fi 7 routers broadcast on three bands (2.4, 5, and 6 GHz) under a single network name. While newer Echo devices are compatible, this automatic “band steering” can sometimes fail.
- The Fix: Log into your router’s settings and temporarily create a dedicated 2.4 GHz-only network (you could name it “MyWiFi_2.4GHz”). Connect your Echo to that specific network. The 2.4 GHz band has longer range and penetrates walls better, often providing a more stable connection for IoT devices.
- WPA3 Security Protocol: WPA3 is the most robust security standard available, but some older Echo devices might struggle with it.
- The Fix: In your router’s security settings, change the mode from “WPA3-Only” to a mixed mode like “WPA2/WPA3-Personal” or “WPA2-PSK [AES]”. This provides excellent security while ensuring maximum compatibility.
- Congested WiFi Channel: If you live in an apartment building, your neighbors’ WiFi networks could be interfering with yours.
- The Fix: Use an app like “WiFi Analyzer” on your phone to see which channels are the most crowded. Then, in your router’s settings, manually set the 2.4 GHz channel to a less congested one (usually 1, 6, or 11).
- ISP DNS Problems: On rare occasions, your internet provider’s DNS servers can have trouble connecting to Amazon’s servers. For a more reliable and private connection, I recommend setting up public DNS servers like Google’s (8.8.8.8) or Cloudflare’s (1.1.1.1) directly in your router’s settings.
Step 5: The Last Resort – The Factory Reset
If absolutely nothing else has worked, it’s time to start from scratch. This will erase all settings on your device.
- Reset Network Settings on Alexa: On some models like the Echo Show, you can go to the settings menu on the screen itself and select “Forget this network” to force a fresh setup.
- Factory Reset the Device: This is the final option. The process varies by model, but it usually involves pressing and holding a button (like the Action button) for about 25 seconds until the light ring turns orange. Once it’s done, you’ll have to set up your Echo from scratch as if it were brand new. For a detailed guide on troubleshooting your specific device, check out our tutorial on how to fix an unresponsive Alexa.
Still No Connection? It’s Time to Call Support
If you’ve followed this guide from top to bottom and your Echo still won’t connect to the internet, there’s a high probability of a hardware failure in the device itself or a very specific issue with your ISP. At this point, it’s time to contact Amazon’s customer support. They can help determine if your unit is defective and needs a replacement.