
Updated on February 8, 2026
Why Watching Netflix on Kodi is Still the Ultimate Upgrade in 2026
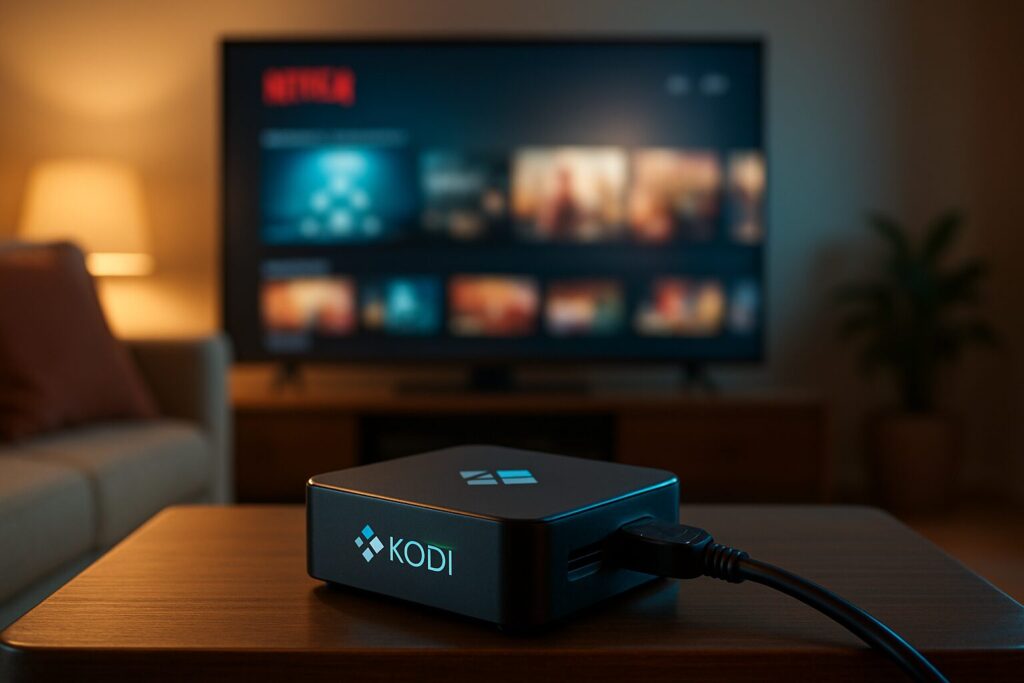
Even though official apps have gotten better, a guide on how to watch Netflix on Kodi in 2026 is still one of the most searched topics out there—and for good reason. Kodi isn’t just a media player; it’s a powerhouse open-source media center that offers a level of customization and playback quality that native apps often can’t touch. If you’re a home theater enthusiast hunting for the absolute best audio and video, integrating Netflix into Kodi is the only way to go.
The main advantage is having total control over the stream. While the official Netflix app on popular streaming devices (even the latest 2026 models) can be limiting, a properly configured Kodi addon lets you squeeze every drop of quality out of your subscription. A perfect example is achieving a true 4K Dolby Atmos setup on Kodi, which this addon can deliver flawlessly on compatible hardware, bypassing the software restrictions found in many official apps.
Prerequisites: What You’ll Need Before You Start
Before we dive in, let’s make sure you have everything you need for a smooth installation:
- Kodi 22 “Piers” or newer: This tutorial is up-to-date for the latest stable Kodi release. If you’re not on it yet, I recommend checking out the Kodi 22 ‘Piers’ vs. Kodi 21 ‘Omega’ upgrade guide.
- An active Netflix subscription: You’ll need your login credentials. This addon is just an alternative client, not a way to get free content.
- ‘Unknown sources’ enabled: To install third-party repositories, this option must be toggled on. You can find it under Settings > System > Add-ons > Unknown sources.
Step-by-Step Guide: Installing the Netflix Kodi Addon in 2026
The Netflix addon is maintained by dedicated independent developers. As of 2026, the most reliable Netflix Kodi repository is still the one from Castagnait. Follow these steps to install it:
- From the Kodi home screen, navigate to Settings (the gear icon).
- Select File manager.
- Double-click on Add source.
- In the path field, enter the following URL exactly as shown and hit OK:
https://castagnait.github.io/repository.castagnait/ - In the box below, give the source a name, for example, “Castagnait”, and hit OK.
- Go back to the Settings menu and select Add-ons.
- Choose Install from zip file.
- Find and select the source you just added (“Castagnait”).
- Click the file named
repository.castagnait-x.x.x.zip(the version number might vary). Wait for the “Add-on installed” notification. - Now, select Install from repository.
- Find and enter the “Castagnait Repository”.
- Go to Video add-ons.
- Select Netflix and click Install.
Critical Dependencies: Getting Inputstream Adaptive and Widevine CDM Working
During the installation, Kodi will ask for permission to install additional dependencies. It is crucial that you accept this, as the addon will not work without them.
- Inputstream Adaptive: This is the module that lets Kodi handle adaptive bitrate streams (like those from Netflix), adjusting the quality on the fly for the best picture.
- Widevine CDM: This is Google’s Digital Rights Management (DRM) component. It’s absolutely essential for playing protected content in HD, 4K, and HDR. Without a properly installed Widevine CDM on Kodi, you’ll be stuck watching content in standard definition (SD).
Once installed, open the Netflix addon for the first time. You’ll be prompted to log in with your email and password. That’s it! You can now browse the entire Netflix library right from the Kodi interface.
Troubleshooting Common Netflix Kodi Addon Errors
While the process is generally stable, you might hit a snag. Here’s a quick guide for troubleshooting Netflix on Kodi.
Authentication Key / Login Errors
If you’re 100% sure your credentials are correct but you can’t log in, the addon might require an authentication key. Go into the addon’s settings and look for the “Authentication Key” option. This method generates a file to use for logging in, which is more secure and often bypasses issues with the Netflix API.
Fixing Widevine CDM Issues
If content fails to play or you get a DRM-related error, it’s likely that Widevine didn’t install or update correctly. Here’s the fix:
- Go to the Netflix addon settings.
- Navigate to the Expert tab.
- Look for an option to Force Widevine CDM reinstall.
- Follow the on-screen prompts and then restart Kodi.
Security & Privacy: Should You Use a VPN?
Even though you’re accessing a legal service you pay for, using a VPN with Kodi is always a smart move. A VPN shields your online privacy, preventing your Internet Service Provider (ISP) from monitoring your activity and applying “throttling” (intentionally slowing down your connection) to streaming services. This can lead to a more stable, buffer-free experience.
Plus, a VPN allows you to access Netflix catalogs from other countries, though this may be against the platform’s terms of service, so proceed with caution.
Beyond Netflix: Exploring Other Kodi Addons
The Kodi ecosystem is massive, with endless options for content. While this addon is specifically for Netflix, there are countless other addons that provide access to a huge variety of legal multimedia content from other sources. If you’re looking to expand your Kodi setup, exploring the official Kodi repository for other video addons is a great place to start.
The Verdict: Is It Worth the Effort in 2026?
Absolutely. Setting up Netflix on Kodi in 2026 is still the gold standard for users who refuse to settle for subpar quality. The ability to pass through uncompressed audio like Dolby Atmos, combined with granular control over 4K video playback, makes Kodi the definitive Netflix client for any serious home theater enthusiast.
Kodi is fully legal, open-source software developed by the XBMC Foundation. tecnoyfoto.com is not affiliated with Kodi or the developers of any mentioned addons, repositories, or scripts. We do not host or distribute copyrighted material. The end-user is solely responsible for the use of this information and for verifying the legality of the content accessed in their region.