
This article may contain affiliate links. If you buy through these links, the price is the same for you and the store pays me a small commission that helps keep Tecnoyfoto running.
Last updated: February 1, 2026
Home Assistant has evolved into the undisputed brain of the modern smart home, but its real power is unlocked when you go beyond just flipping lights on and off. In this definitive 2026 guide, I’ll show you how to master the advanced Home Assistant features that will transform your house from merely “connected” to “truly intelligent.” We’ll dig into everything from predictive energy management to creating complex automations and scenes that actually anticipate your needs.
Deep Dive: Comparative Analysis in the Home Assistant Energy Dashboard
One of the most powerful and mature tools in Home Assistant by 2026 is the Energy Dashboard. It’s no longer just about seeing real-time consumption; we can now perform deep comparative analyses to understand and optimize our energy spending patterns. Did I use more electricity this month than last? Is my solar array performing as expected compared to last year?
The system natively allows you to compare energy data against previous periods, offering crystal-clear graphs that help you make informed decisions, like adjusting your HVAC schedule or identifying ‘vampire’ appliances sucking power while idle.

How to Compare Energy Data (Step-by-Step)
- Navigate to your Energy Dashboard from the Home Assistant sidebar.
- Select the chart you want to analyze (e.g., “Grid Consumption”).
- In the top-right corner of the chart, click the date selector.
- Toggle the “Compare” option and choose the period you want to use as a baseline (e.g., “Previous period” or “Same period last year”).
- Home Assistant will automatically overlay both graphs, giving you a clear picture of your progress.
To get the most out of this, a rock-solid energy sensor setup is non-negotiable. I recommend using clamp-style energy meters like the Shelly EM or the SONOFF POW RingAffiliate link for accurate whole-house monitoring.
Unlocking the Power of Home Assistant’s History and Logbook
The Logbook has graduated from a simple list of events to an indispensable diagnostic and auditing tool. In 2026, the log is fully integrated into the pages of each device and area, letting you see recent activity in context and lightning-fast.
This integration is a game-changer for debugging automations or understanding why a specific event happened. For example, if a light turned on unexpectedly, you can go directly to that light’s device page and see in its log which automation, scene, or device event triggered it.

Furthermore, the log now displays entity-less device events, like button presses from a wireless Zigbee remote. This is incredibly useful for confirming that the system is actually receiving signals from your remotes or wall switches.
The Pro’s Guide to Creating Home Assistant Scenes
Scenes are one of the most-used advanced Home Assistant features. They let you save and restore the state of multiple devices with a single click. However, their true potential was unlocked when the editor started allowing you to select specific attributes instead of just saving the device’s entire state.
How to Create a Granular Scene (Step-by-Step)
- Go to Settings > Automations & Scenes and select the Scenes tab.
- Click “Add Scene” and give it a descriptive name, like “Movie Night.”
- Add the devices that will be part of the scene (e.g., living room lights, TV, smart blinds).
- Here’s the power-user trick: Instead of saving the full state, click on each device within the scene editor. This will reveal all its entities and attributes. Now you can choose to save *only* the brightness and color of a light—but not its on/off state—or just the position of your blinds.
- Save the scene. Now, when you activate it, it will only modify the attributes you explicitly selected, leaving everything else untouched.
This level of granularity is perfect for creating complex lighting moods with Zigbee2MQTT or ZHA devices without affecting whether a light was already on or off.

Calendar-Based Automations: Make Your Home Proactive
Calendar-based automations have revolutionized how we interact with our homes. The ability to use events from your calendar (Google Calendar, CalDAV, etc.) as triggers is powerful, but the “offset” feature is what takes it to the next level.
An offset lets you fire an automation *before* or *after* a calendar event starts or ends. This opens up a world of possibilities for proactive reminders and preparations.
Real-World Example: The Trash Day Reminder
Let’s say you have a calendar event called “Trash Day” every Wednesday at 7:00 AM. We want to get a reminder the night before.
- Create a new automation.
- Under Triggers, select “Calendar.”
- Choose your calendar entity.
- Set it to trigger “At event start.”
- In the Offset field, enter
-09:00:00. This tells the trigger to fire 9 hours *before* the event starts. If the event is at 7:00 AM, the automation will run at 10:00 PM the previous day. - Under Actions, set up a notification to your phone that says, “Reminder: Take out the trash!”
Here’s the equivalent YAML for this powerful automation:
trigger:
  - platform: calendar
    event: start
    offset: "-09:00:00"
    entity_id: calendar.your_calendar
condition:
  - condition: template
    value_template: "{{ 'trash' in trigger.calendar_event.summary | lower }}"
action:
  - service: notify.mobile_app_your_phone
    data:
      message: "Reminder: Take out the trash!"
      title: "Home Assistant Reminder"
You can learn more about building these in our complete guide to advanced Home Assistant automations.
Real-World Use Cases to Inspire You
To bring these concepts to life, here’s a table with practical examples you can implement in your Home Assistant setup today.
| Use Case | Primary Feature Used | The Awesome Outcome |
|---|---|---|
| “Movie Night” Mode | Scenes | With a single button press, main lights dim to 20% warm white, rear accent LEDs turn blue, the blinds close, and the TV turns on. |
| Proactive Birthday Reminder | Calendar Automations (Offset) | A week before a birthday event on your calendar, you get a notification reminding you to buy a gift. |
| Heat Pump Efficiency Analysis | Energy Dashboard | You compare your heat pump’s energy consumption this winter against last winter’s to verify if your new insulation was effective. |
| Faulty Sensor Diagnosis | History & Logbook | A door sensor seems to be failing. You check its device page and see in the log that the battery has been reporting a low level for days. |
Home Assistant Performance Tuning: Database Optimization
For all these advanced features to run smoothly, you have to optimize Home Assistant’s performance. The database, where history and logs are stored, is the heart of the system’s responsiveness. While core storage optimizations since 2024 have drastically reduced database size and disk writes, there’s more we can do.
For superior performance in 2026, my go-to recommendation is to offload the database to MariaDB. This is easily installed from the Home Assistant Apps store (formerly known as Add-ons).
Additionally, I strongly advise configuring the recorder integration in your configuration.yaml file to exclude entities that update frequently and don’t need to be historized (e.g., power sensors that report every second).
# configuration.yaml
recorder:
  exclude:
    entities:
      - sensor.washing_machine_instantaneous_power
      - sensor.router_uptime
Frequently Asked Questions (FAQ)
Do I need special hardware for the Energy Dashboard?
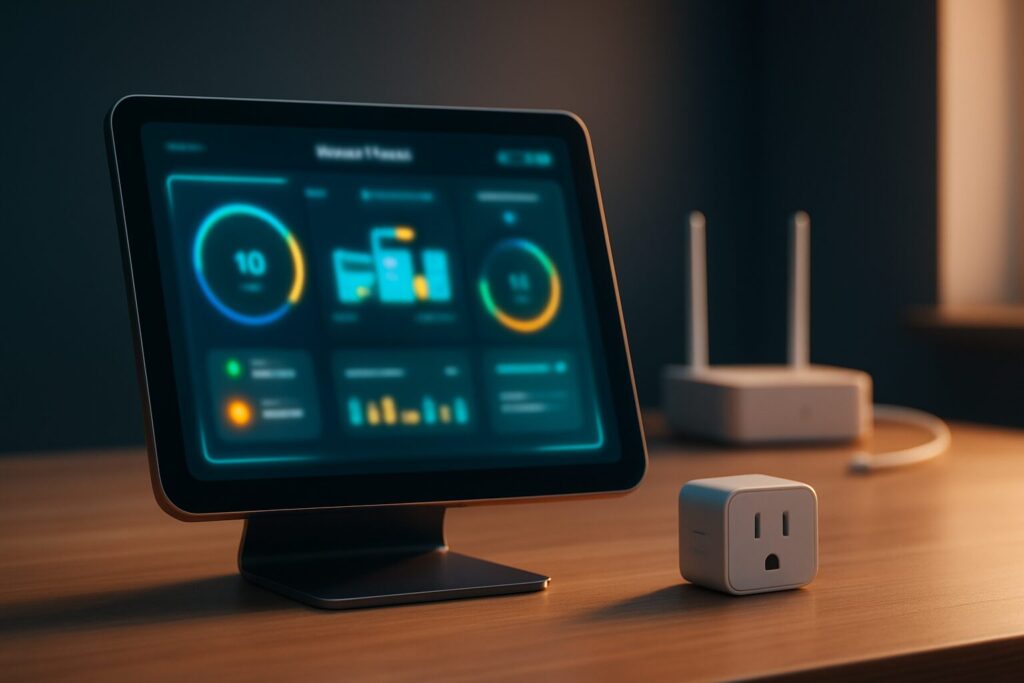
Yes. To measure your whole-home consumption, you’ll need a compatible energy meter, like a Shelly EM or a clamp meter connected to an ESP32 running ESPHome. For monitoring individual appliances, you can use smart plugs that feature energy monitoring.
Can I use my Google Calendar for automations?
Absolutely. Home Assistant has a native integration for Google Calendar that lets you add your calendars as entities and use them as triggers in automations.
Will creating a lot of scenes slow down Home Assistant?
No. Scenes are extremely lightweight. They simply store a list of states and services to call. Performance might be impacted by a massive number of complex automations running constantly, but not by the number of scenes you have defined.
My history only saves a few days of data. How do I extend it?
By default, Home Assistant purges its database every 10 days to save space. You can change this behavior by adding the purge_keep_days option to your recorder configuration. Just be aware that a longer history will result in a larger database file.