
Updated on January 22, 2026
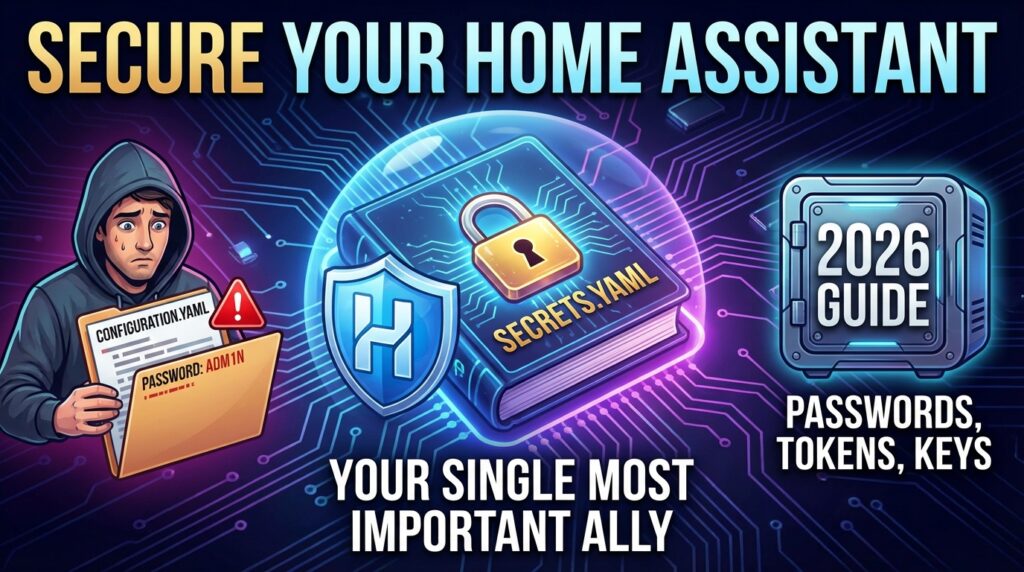
In the Home Assistant ecosystem, keeping your sensitive data locked down is non-negotiable. If you’re aiming for a truly secure Home Assistant setup, the secrets.yaml file isn’t just a nice-to-have—it’s your single most important ally. This guide will show you why the battle-tested Home Assistant secrets.yaml file remains the cornerstone in 2026 for storing critical info like passwords, access tokens, and API keys safely outside your main configuration.yaml, preventing them from ever being accidentally exposed.
What Is `secrets.yaml` and Why Is It Still Crucial in 2026?
Imagine you want to share one of your awesome automations with the community, but it includes your MQTT broker password or the API key for a weather service. If that data were hardcoded in your configuration.yaml file, you’d have to remember to scrub it before sharing—a process ripe for human error that could leak your credentials to the world.
The secrets.yaml file solves this problem elegantly. Think of it as a digital safe where you store each sensitive piece of data under a unique name (a “key”). Then, from any other configuration file, instead of typing the actual password, you simply reference that key. Home Assistant handles the substitution internally, ensuring the actual secret is never visible in your shared code.
The core advantages are clear:
- Security: It’s the most effective method to protect API keys in Home Assistant and other credentials.
- Portability: You can safely share your configuration files, knowing your secrets aren’t traveling with them.
- Centralized Management: If a password or token changes, you only need to update it in one single place:
secrets.yaml.
How to Set Up Your `secrets.yaml` File: A Step-by-Step Guide
Setting up this file is a straightforward process that adds a fundamental layer of security to your setup. You’ll find it in the same directory as your configuration.yaml file, typically /config/.
- Access Your Config Files: The recommended way in 2026 is through the “Studio Code Server” Add-on (formerly known as Visual Studio Code). If you don’t have it, install it from the Home Assistant Add-on Store. It provides a vastly superior editing experience compared to the basic file editor.
- Create the File (if it doesn’t exist): Inside the
/configfolder, right-click and select “New File.” Name it exactlysecrets.yaml. - Add Your Secrets: The structure is simple:
secret_name: secret_value. Each secret must be on a new line. It is critical that you do not use tabs, only spaces, as with any YAML file.
For instance, if you wanted to store an access token and a password:
# Example secrets.yaml file for 2026
my_access_token: "abcdef1234567890"
my_wifi_password: "S3cur3_P4s$w0rd!"
api_key_openweathermap: "987654321fedcba0987654321fedcba"
How to Use Secrets with `!secret` in Home Assistant
Once your secrets are defined, using them in your configuration.yaml or other config files is incredibly intuitive thanks to the !secret directive.
Following the example above, if an integration asks for an API Key, the configuration would look like this:
# In configuration.yaml
weather:
  - platform: openweathermap
    api_key: !secret api_key_openweathermap
When Home Assistant loads this config, it sees !secret api_key_openweathermap and automatically replaces it with the value "987654321fedcba0987654321fedcba" from your secrets.yaml file. It’s that simple and that secure!
`secrets.yaml` vs. The UI: Which is Better for Managing Credentials?
Over the years, Home Assistant has evolved to allow many integrations to be configured directly through the graphical user interface (UI), which manages secrets behind the scenes. While this is certainly easier for newcomers, managing passwords in Home Assistant via secrets.yaml still offers key advantages for intermediate and advanced users.
| Feature | secrets.yaml (YAML Editing) | UI Management |
|---|---|---|
| Ease of Use | Requires manual file editing. Has an initial learning curve. | Extremely simple. Web-based text fields and buttons. Ideal for beginners. |
| Versioning & Backup | Excellent. Can be versioned in Git (using .gitignore) and included in standard backups. Offers granular control. | Secrets are stored in the opaque .storage directory, making manual management difficult. Relies on full system snapshots. |
| Sharing Configurations | Ideal. You can share your entire configuration.yaml without any risk of exposing sensitive data. | Impossible to share an integration’s config without re-configuring it manually on the other system. |
| Support | Compatible with nearly all integrations that are configured via YAML. | Limited to integrations that have been migrated to the UI config flow. |
Advanced Real-World Examples for 2026
Let’s see how secrets.yaml shines in more complex scenarios that demonstrate its true power.
Example 1: Securing a RESTful Sensor API Key
Let’s say you want to create a sensor that pulls cryptocurrency prices from an API requiring a “Bearer Token” for authentication.
In your secrets.yaml file:
crypto_api_token: "Bearer eyJhbGciOiJIUzI1NiIsInR5cCI6IkpXVCJ9.eyJzdWIiOiIxMjM0NTY3ODkwIiwibmFtZSI6IkpvaG4gRG9lIiwiaWF0IjoxNTE2MjM5MDIyfQ.SflKxwRJSMeKKF2QT4fwpMeJf36POk6yJV_adQssw5c"
In your sensor configuration file (or configuration.yaml):
rest:
  - resource: "https://api.crypto-service.com/v1/price/btc-eur"
    scan_interval: 300
    headers:
      Authorization: !secret crypto_api_token
      Content-Type: "application/json"
    sensor:
      - name: "BTC Price"
        value_template: "{{ value_json.price }}"
        unit_of_measurement: "EUR"
Example 2: Bulletproof MQTT Configuration for Zigbee2MQTT
When setting up the MQTT integration to connect with a broker like the one used for Zigbee2MQTT, it’s vital to protect the username and password.
In your secrets.yaml file:
mqtt_broker_address: "192.168.1.50"
mqtt_username: "ha-user"
mqtt_password: "super_secret_password_123"
When configuring the MQTT integration in configuration.yaml:
mqtt:
  broker: !secret mqtt_broker_address
  username: !secret mqtt_username
  password: !secret mqtt_password
The Golden Rule: `secrets.yaml` and `.gitignore`
If you’re a power user who versions your Home Assistant config using Git and pushes it to public repositories like GitHub (an excellent practice for backup and version control), there is one step you absolutely cannot skip: ignoring the secrets.yaml file.
The .gitignore file tells Git which files or folders to ignore and never upload to the repository. If you fail to add secrets.yaml to this file, you will be publishing all of your passwords and tokens on the internet.
To prevent this disaster, simply create a file named .gitignore in your /config folder and add the following line:
# Ignore the secrets file
secrets.yaml
This ensures your configuration can be shared, but your secrets remain safely on your local system. It’s one of the most critical best practices for smart home security.
Common Errors & Fixes (The Dreaded “Secret not found” Message)
The most common headache when working with this system is the infamous "Secret [secret_name] not found" error in your Home Assistant logs. Here are the usual suspects and how to fix them:
- Mismatched Names (Typos): Double- and triple-check that the secret name in
secrets.yamland the name you’re calling with!secretare exactly the same, including case-sensitivity. - Forgetting to Restart/Reload: Home Assistant only reads the
secrets.yamlfile on startup or when YAML configurations are reloaded. If you’ve just added a new secret, you must restart Home Assistant for it to be recognized. A quick trip to “Developer Tools” -> “YAML” and clicking “Restart” will do the trick. - Incorrect YAML Formatting: Ensure every entry in
secrets.yamlfollows thekey: valueformat and that you have not used any tabs—only spaces. A single indentation error can prevent the entire file from being parsed correctly. - Unsaved Changes: It sounds obvious, but we’ve all done it. Make sure you actually saved the changes in your editor before restarting.
To sum it up, while Home Assistant continues to move towards a more visual management style, the secrets.yaml file remains an indispensable tool in 2026 for any user who is serious about the security and clean management of their smart home. Mastering it is a fundamental step in taking your configuration to the next level of professionalism and robustness.