
Last updated on January 28, 2026
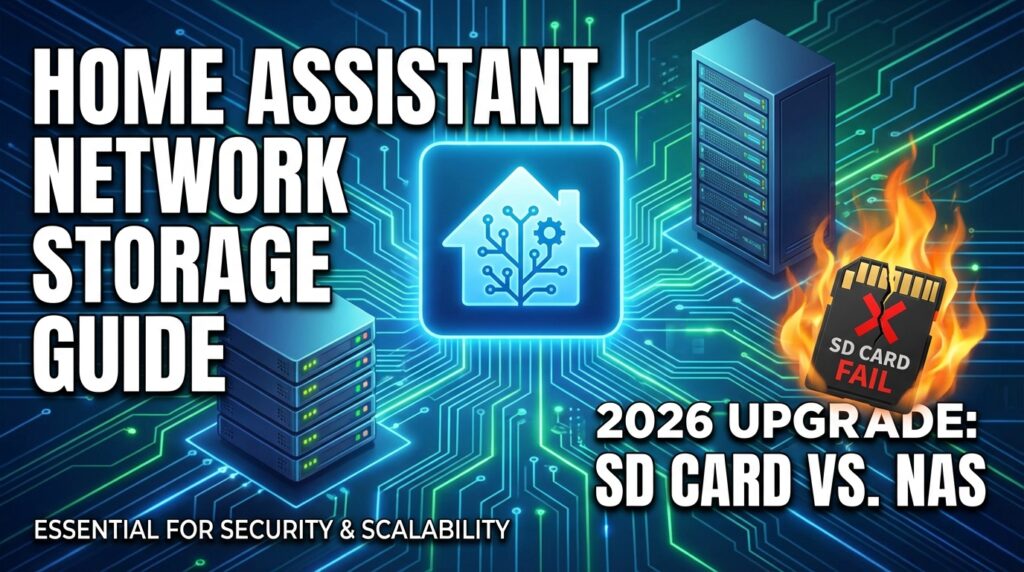
In the 2026 smart home ecosystem, data management is just as critical as the devices themselves. If you’re running Home Assistant as the brain of your smart home, centralizing your data storage isn’t a luxury—it’s a necessity. Relying on the internal SD card is a recipe for long-term disaster. That’s why in this definitive guide, I’ll walk you through setting up Home Assistant network storage, a fundamental upgrade for your system’s security, performance, and scalability.
Why You Need Home Assistant Network Storage in 2026
Mounting a network drive in Home Assistant unlocks a world of possibilities that go far beyond just saving files. These are the most important use cases I’ve implemented that are absolute game-changers:
- Rock-Solid Backups: The SD cards or SSDs in devices running Home Assistant (like a Raspberry Pi or Home Assistant Green) have a finite lifespan and can fail without warning. Offloading your Home Assistant backups to a NAS (Network Attached Storage) ensures you can restore your entire system in minutes, protecting countless hours of configuration.
- Security Camera Recordings (Frigate): Add-ons like Frigate perform constant video analysis for object detection, which means continuous data writing. Doing this on the local SD card would degrade it in weeks. Storing recordings on a NAS not only protects your hardware but also gives you gigabytes (or terabytes) of space for an extensive video history. It’s the *right* way to integrate your RTSP cameras or specific models like Reolink cameras.
- Centralized Media Server: Are you using the Plex or Jellyfin add-ons? Storing your movie, TV show, and music library on the NAS lets you access it from any device on your network, turning Home Assistant into an even more powerful media hub without overloading its primary storage.
Recommended Hardware: The Best NAS for Home Assistant
Before you dive into the software, you need the right hardware. While you could repurpose an old PC with TrueNAS or use a simple hard drive attached to a router, my recommendation for hassle-free, 24/7 performance is a dedicated NAS.
- Commercial NAS Devices: Brands like Synology and QNAP are the kings of the market. They offer incredibly intuitive operating systems (DSM and QTS, respectively) that make creating shared folders and managing permissions a breeze. If you want to install Home Assistant in a virtual machine, a Synology NAS is a fantastic choice.
- Hard Drives for NAS: Don’t use standard desktop hard drives. Invest in drives designed for continuous operation. In my experience, the WD Red Pro series offers exceptional reliability and performance for these kinds of tasks.
Samba (SMB) vs. NFS: Which Protocol Should You Choose?
Home Assistant supports two main protocols for mounting a network drive: Samba (SMB) and Network File System (NFS). Choosing the right one depends on your environment and needs. Here’s a comparison table to help you decide.
| Feature | Samba (SMB) | Network File System (NFS) |
| Compatibility | Excellent. It’s the standard for Windows and has perfect native support on macOS and Linux. Ideal for networks with mixed operating systems. | Good. It’s the standard in Linux/Unix environments. Requires extra configuration on Windows to work as a client. |
| Performance | Very good for most home uses. Modern versions (SMB3) are highly efficient. | Generally considered faster with lower CPU overhead, especially when transferring many small files. Ideal for intensive tasks like Frigate recordings. |
| Security | Based on username and password. Allows for granular access control for each user. | Based on the client’s IP address. It trusts that the device connecting from an authorized IP is secure. Less granular than SMB. |
| Ease of Setup | Very straightforward. You just need an IP, username, password, and the share name. | Slightly more complex. Requires configuring permissions by IP on the server and using a specific “mount path.” |
| My Recommendation | Use Samba if you have a mixed network (Windows, Mac, etc.) and want the simplest, most compatible setup. | Use NFS if you’re chasing maximum performance for critical apps (like Frigate) and your network is primarily Linux-based (which Home Assistant OS is). |
The Ultimate Guide: How to Set Up Home Assistant Network Storage (Step-by-Step)
The process is broken down into two main phases: first, we’ll prepare the shared folder on our server (the NAS), and then we’ll connect to it from Home Assistant.
Step 1 (Option A): Set Up a Samba (SMB) Share on Your NAS
These steps are for a Synology NAS but are very similar for QNAP or other systems.
- Create a Dedicated User: Go to your NAS Control Panel, under “User & Group.” Create a new user (e.g.,
ha_user) with a strong password. Write this down. It’s a security best practice not to use your admin account. - Create the Shared Folder: Open “File Station” and create a new shared folder. Give it a clear name, like
homeassistant_backupsorfrigate_recordings. - Assign Permissions: During the folder creation process, you’ll get to a permissions screen. Make sure the user you just created (
ha_user) has Read/Write permissions for this new folder. - Verify SMB is Active: Go to “Control Panel” > “File Services.” Confirm that the SMB service is enabled.
[IMAGE: Screenshot of the shared folder permissions screen in Synology DSM 2026, assigning Read/Write privileges to the ha_user.]
Step 1 (Option B): Set Up an NFS Share on Your NAS
If you’ve opted for the performance of NFS, the process is a bit different.
- Enable the NFS Service: In “Control Panel” > “File Services,” go to the NFS tab and enable it if it’s not already.
- Create the Shared Folder: Create the folder just like in the previous step (e.g.,
homeassistant_nfs). - Configure NFS Permissions: Go to “Control Panel” > “Shared Folder.” Select the folder you just created and click “Edit.” Go to the “NFS Permissions” tab and create a new rule.
- Hostname or IP: Enter the IP address of your Home Assistant instance. For testing, you can use an asterisk (
*), but for security, it’s best to lock it down to HA’s IP. - Privilege: Read/Write.
- Squash: Map all users to admin (or No mapping, depending on your setup).
- Security: sys.
- Enable all three asynchronous checkboxes.
- Hostname or IP: Enter the IP address of your Home Assistant instance. For testing, you can use an asterisk (
- Copy the Mount Path: At the bottom of the NFS permissions window, you’ll see the “Mount path.” Copy it; you’ll need it in Home Assistant. It will look something like
/volume1/homeassistant_nfs.
[IMAGE: Screenshot of the NFS Permissions settings in Synology, showing the Home Assistant IP and the mount path.]
Step 2: Mount the Network Drive in Home Assistant
Now that our server is ready, let’s head over to Home Assistant to connect the drive.
- Navigate to Settings > System > Storage.
- Click the “Add network storage” button in the bottom-right corner.
- A wizard will pop up. Fill in the fields according to the protocol you chose:
For Samba (SMB):
- Name: A descriptive name, like “NAS Backups” or “Frigate Recordings.”
- Usage: Choose “Backup” or “Media” depending on its purpose.
- Network storage server: The IP address of your NAS.
- Protocol: Samba.
- Share: The EXACT name of the shared folder you created (e.g.,
homeassistant_backups). - Username and Password: The credentials for the user you created on the NAS (e.g.,
ha_user).
[IMAGE: Screenshot of the Samba configuration window in Home Assistant 2026.1 with the fields filled out.]
For NFS:
- Name: A descriptive name, like “NFS Storage.”
- Usage: Choose the appropriate option.
- Network storage server: The IP address of your NAS.
- Protocol: NFS.
- Remote share: Paste the Mount Path you copied from the NAS here (e.g.,
/volume1/homeassistant_nfs).
[IMAGE: Screenshot of the NFS configuration window in Home Assistant 2026.1 showing the mount path.]
- Click “Connect.” If everything is correct, after a few seconds, the drive will appear in the list of available network storage. You’re all set!
Troubleshooting Common Network Storage Mount Errors
Sometimes things don’t work on the first try. Here are the most common issues I’ve run into and how to fix them:
- Error: “Connection failed”
- Likely Cause: Incorrect IP address, firewall blocking the port, or wrong credentials.
- Solution: Double-check that the NAS IP is correct and that Home Assistant can ping it. Verify you’ve typed the Samba username and password perfectly. Check if your NAS firewall has any rules blocking local connections.
- Error: “Permission denied”
- Likely Cause: The user permissions on the NAS are incorrect.
- Solution (Samba): Go back to the shared folder settings on your NAS and ensure the user has Read/Write permissions.
- Solution (NFS): Edit the folder’s NFS permissions and confirm your Home Assistant’s IP is on the allowed clients list.
- Error: “Share not found”
- Likely Cause: The folder name or mount path is incorrect.
- Solution (Samba): The share name must be exact, including case sensitivity.
- Solution (NFS): The mount path must be the one provided by your NAS, typically starting with
/volumeX/. Always copy and paste it.
Conclusion: Your Home Assistant, More Powerful and Secure Than Ever
Setting up network storage is one of the most important steps you can take to level up your Home Assistant installation. You’re not just protecting your system with reliable backups; you’re enabling advanced features like a robust video surveillance system or a centralized media library.
I hope this updated 2026 guide has been a huge help. The time you invest in this setup now will save you countless headaches down the road. Trust me.