
As an Amazon Associate, I earn from qualifying purchases. En calidad de Afiliado de Amazon, obtengo ingresos por las compras adscritas que cumplen los requisitos aplicables. If you buy through these links, the price is the same for you and Amazon pays me a small commission that helps keep Tecnoyfoto running.
Last updated on January 23, 2026
In a world where every dollar counts, optimizing your home’s energy consumption is no longer a nice-to-have—it’s essential. Home Assistant, the brain of your smart home, is the perfect ally in this mission. Forget blindly setting your washing machine to run overnight. In 2026, we can automate it to run at the precise moment electricity is cheapest, significantly cutting down your monthly power bill. This definitive guide will teach you how to lower your electric bill with Home Assistant using the most powerful and user-friendly tools available today.
Your Energy-Saving Toolkit: What You’ll Need in 2026
To kick off our money-saving strategy, we need three key components that work together seamlessly:
- A Smart Plug with Energy Monitoring: Not just any smart plug will do. You need one that can’t just turn an appliance on and off, but can also measure its real-time power consumption. This is crucial for tracking everything in the Energy Dashboard.
- Electricity Rate Integration: We need to pull your local electricity cost data into Home Assistant. This varies wildly in the U.S. depending on your utility provider’s Time-of-Use (TOU) plan.
- An Up-to-Date Home Assistant Instance: The platform that will orchestrate the entire process.
Step 1: Choosing the Right Smart Plugs
Picking the right hardware is your first move. For this task, smart plugs that measure energy consumption are your best friends. In 2026, the market is full of reliable options based on Wi-Fi and, my personal recommendation, Zigbee, for its stability and robust mesh network. To use Zigbee devices, you’ll need a coordinator like the SMLIGHT SLZB-06Affiliate link and a platform like ZHA or Zigbee2MQTT.
Here’s a comparison chart with some of the best models on the market:
| Model | Protocol | Pros | Estimated Price Range |
|---|---|---|---|
| Shelly Plus Plug US | Wi-Fi | Easy setup, no hub required, native integration, and rock-solid reliability. | $20 – $30 |
| SONOFF S31ZB | Zigbee 3.0 | Excellent signal repeater, low power draw, super fast and stable. | $15 – $25 |
| TP-Link Kasa KP115 | Wi-Fi | Robust ecosystem, simple mobile app, and great Home Assistant integration. | $15 – $20 |
| Aqara Smart PlugAffiliate link | Zigbee | Premium build quality, extremely reliable in Zigbee networks. | $25 – $35 |
Step 2: Integrating Your Electricity Rates into Home Assistant
To make smart decisions, you need data. The key is having a sensor that tells Home Assistant the price of electricity on an hourly basis. This process is very different depending on where you live in the United States.
- Navigate to Settings > Devices & Services.
- Click the Add Integration button in the bottom-right corner.
- Search for your specific utility provider (e.g., “PG&E”, “ConEd”, “Duke Energy”). Many major utilities have custom integrations available through HACS (Home Assistant Community Store) if not in the official list. If you can’t find your provider, search for generic integrations like “Time of Use (TOU)” that you can configure manually.
- Follow the on-screen instructions. This usually involves entering your account details or an API key.
Once completed, you’ll have a new sensor entity (e.g., sensor.current_energy_rate) with the current price of electricity and attributes containing the pricing schedule for the entire day.
Step 3: The Automation (The Easy Way with Blueprints)
Before we dive into a manual build, you should know the Home Assistant community has made this incredibly easy with Blueprints (automation templates). A Blueprint lets you import complex automation logic just by filling out a few fields.
To find one, I recommend searching the Home Assistant community forums for terms like “Appliance cheapest hour blueprint” or “Time of Use automation blueprint”. Once you import it, you’ll just need to select your smart plug and your electricity rate sensor. It’s the fastest way to start optimizing your energy usage!
Step 4: Building the Automation Manually (For Total Control)
If you prefer to understand and control every detail, building the washing machine automation in Home Assistant from scratch is the way to go. Forget old-school YAML; in 2026, we’re doing this entirely through the intuitive graphical interface.
Here’s our logic: when we manually turn on the washing machine (after loading it with clothes and detergent), Home Assistant will instantly turn it off and wait for the cheapest hour of the day to turn it back on.
4.1. Creating the Helper
First, we need a “Helper” to act as a memory, so Home Assistant knows the washer is armed and waiting for the optimal time. We’ll use a Toggle (Input Boolean).
- Go to Settings > Devices & Services > Helpers.
- Click Create Helper and select Toggle.
- Give it a clear name, like “Washing Machine Armed for Savings.” The
entity_idwill be something likeinput_boolean.washing_machine_armed_for_savings.
This will be the virtual switch we flip to start the process.
4.2. Automation 1: Arm and Pause
This automation detects when you’ve started the washer, readying it for the cheap-rate run.
- Trigger: Go to Settings > Automations & Scenes > Create Automation. For the trigger, choose State, select your smart plug’s power sensor entity (e.g.,
sensor.washing_machine_plug_power), and set it to trigger when the value is above10(watts) for a few seconds. This confirms the washer tried to start. - Condition: Add a State condition so this automation only runs if the
input_boolean.washing_machine_armed_for_savingshelper is off. This prevents it from running in a loop. - Action:
- Call service:
switch.turn_offto immediately power down the plug (switch.washing_machine_plug). - Call service:
input_boolean.turn_onto flip our helper switch on (input_boolean.washing_machine_armed_for_savings). - Call service:
notify.notifyto send a notification to your phone: “Washing machine is armed. It will start during the cheapest hour.”
- Call service:
4.3. Automation 2: The Smart Start
This is the automation that actually kicks off the wash cycle at the perfect moment.
- Trigger: Modern energy rate integrations often provide a binary sensor that tells you when the cheapest period is active. The most robust method is to use a State trigger on that binary sensor (e.g.,
binary_sensor.off_peak_hours) that fires when it changes to `on`. If your integration doesn’t provide this, you might need a Template trigger. Assuming your integration has an attribute with the start time of the cheapest period (e.g.,cheapest_period_start), the trigger would look like this:{{ now() >= state_attr('sensor.your_utility_rate', 'cheapest_period_start') | as_datetime | as_local }} - Condition: Add a State condition to make sure our helper
input_boolean.washing_machine_armed_for_savingsis on. - Action:
- Call service:
switch.turn_onto power up the washing machine plug (switch.washing_machine_plug). - Call service:
input_boolean.turn_offto turn off the helper (input_boolean.washing_machine_armed_for_savings), resetting the system for the next wash. - Call service:
notify.notifyto let you know: “Washer is running at the best price!”
- Call service:
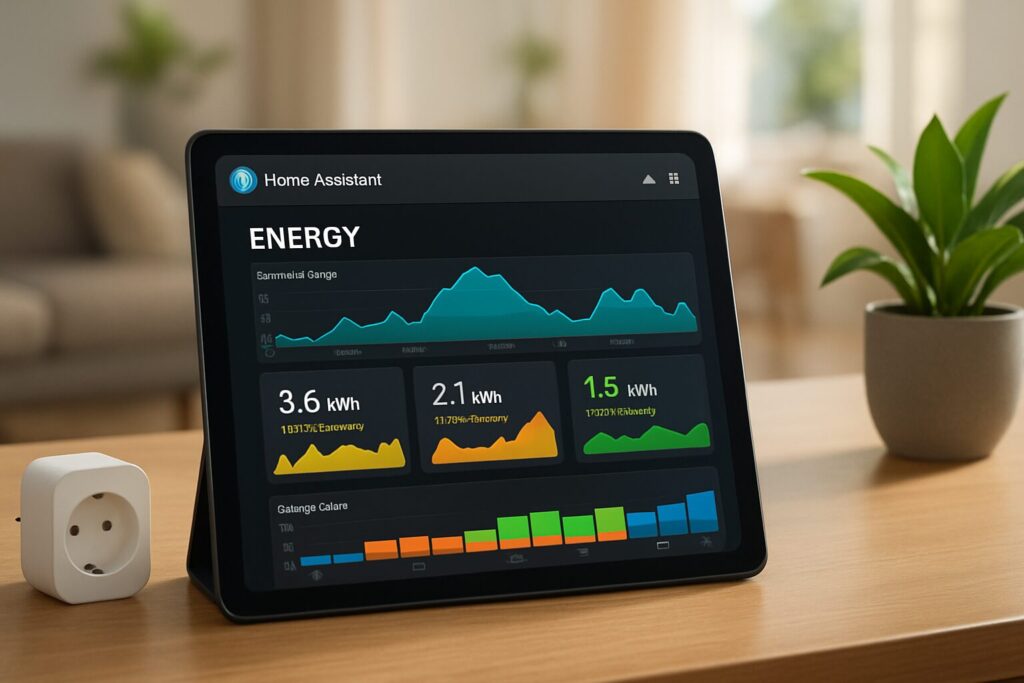
Visualize Your Savings: The Energy Dashboard
One of the most powerful native tools in Home Assistant is the Energy Dashboard. This is where all our hard work pays off visually.
- Go to Settings > Dashboards and select Energy.
- Under the Electricity grid section, add your smart plug’s energy consumption entity (the one ending in
_energy, measured in kWh). - Under the Electricity price section, select your rate sensor (e.g.,
sensor.current_energy_rate).
Within a few hours, you’ll start seeing detailed graphs of your consumption, the associated costs, and how your new automations are positively impacting your monthly bill.
Frequently Asked Questions (FAQ)
- What if my washer doesn’t resume its cycle after the power is restored?
- This method is ideal for appliances with mechanical dials or smart models that have a memory function. If your washing machine completely resets when it loses power, this automation won’t work for you. Thankfully, most modern appliances are designed to resume their cycle.
- Can I apply this logic to other appliances like a dishwasher or water heater?
- Absolutely! This system is perfect for any high-consumption appliance that doesn’t need to run immediately, such as dishwashers, clothes dryers, or electric water heaters. Just replicate the automations and helper for each device.
- What if I need to run the washer immediately?
- You can easily create an “override button” on your Home Assistant dashboard. This could be a Button Helper that, when pressed, temporarily disables the first automation and turns the plug on directly.