
This article may contain affiliate links. If you buy through these links, the price is the same for you and the store pays me a small commission that helps keep Tecnoyfoto running.

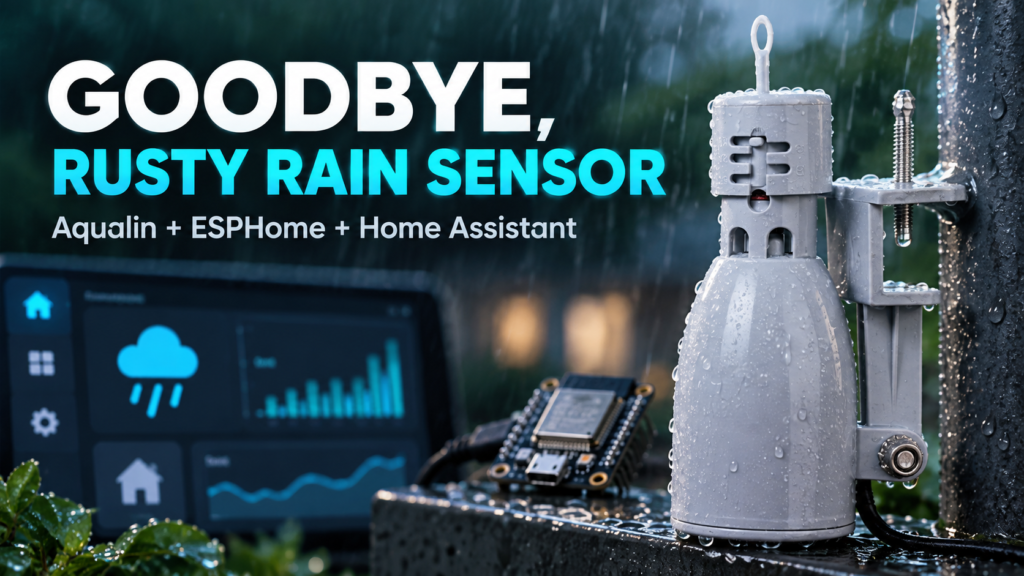
I integrated an Aqualin Mini-Click rain sensor into Home Assistant using an ESP32 and ESPHome to replace my old resistive sensor setup. I wanted fewer corrosion problems and a simpler system. After testing it, my verdict comes down to one key question: how much time can we allow for it to detect rain and return to a dry state?
The video shows the cable preparation, board programming, and water test. In this article, I focus on the experience of using the sensor, its advantages over my previous setup, and the limitations to understand before buying it. You will also find the complete configuration to reproduce my installation.
My take on the Aqualin: simple, but slow to respond
Its mechanical operation is what appeals to me most. The sensor uses two contacts and needs no power supply of its own, manufacturer app, or cloud connection. The ESP32 handles the integration and can stay protected indoors thanks to the roughly 7-meter (23-foot) cable supplied with my unit.
Response time is the trade-off. This is not a first-drop detector. Even at its most sensitive setting, labeled 3 mm, the discs need to absorb enough water to operate the switch. Once triggered, it can continue reporting a wet state for many hours after the rain has stopped.
That makes it particularly interesting for garden and irrigation automations that can accommodate those delays. My assessment changes if the goal is an immediate response to protect an awning, close a window, or send a warning before laundry gets wet.
Why I replaced my previous rain sensor
My previous setup detected water using a resistive sensor board exposed to the weather. It worked and responded to very little water. Its analog output also let me estimate rainfall intensity for display in Home Assistant.
Maintenance was the problem: the board would corrode, sometimes stay stuck reporting rain or stop responding, and eventually need replacing again. I also chose a new ESP32 because the one in my previous setup was having connection problems. I wanted to keep those issues separate from testing the new sensor.
With the Aqualin, I have given up that intensity estimate. In return, I have removed the exposed sensing traces of a resistive board. That simplification appeals to me, although I do not yet consider it evidence of long-term durability. Continued use will tell me more.
How this mechanical rain sensor works
The Aqualin Mini-Click was originally designed for irrigation systems. Inside, hygroscopic discs absorb water, expand, and operate a small switch. As they dry out, the mechanism returns to its original position.
The cable provides a dry contact. On my unit, I used a multimeter to verify that the contact is closed when the sensor is dry and opens once it gets wet enough to activate. That check matters when interpreting the state Home Assistant receives.
The sensor has no built-in Wi-Fi or Zigbee. It also provides neither an analog rainfall intensity reading nor a precipitation measurement. Electrically, it simply opens or closes the contact; ESPHome reports that state.
Sensitivity: what the 3 mm setting actually means
My sensor offers 3, 6, 12, 19, and 25 mm settings. I started at 3 mm, the most sensitive position, so it would trigger with the smallest amount of rainfall its mechanism allows.
For reference, 3 mm of rainfall equals 3 liters per square meter, or about 0.12 inches of rain. However, this scale sets a mechanical activation threshold: Home Assistant does not receive a 3 mm reading or know how much rain has fallen. The device is not a rain gauge.
You can see this distinction in the water test in the video. A few drops were not enough, and I had to add more water before the state changed. That test confirms that it works, but it cannot precisely calibrate the rainfall needed to trigger it in an actual installation.
My first real rain test: almost 24 hours to return to dry
The first rainy day with this sensor was a useful test of its behavior. Girona received around 50 liters per square meter (50 mm, or about 2 inches of rain), including a period with roughly 20 mm (0.8 inches) in one hour. In that downpour, the sensor detected rain quickly and remained activated throughout the event.
What happened afterward was more revealing. It had rained in the afternoon, and overnight humidity was close to 100%. The discs did not dry out. The next morning was somewhat cloudy; the sun came out later, but there was no wind. In those conditions, it took almost 24 hours to return to a dry state.
I am not presenting those 24 hours as a fixed drying time for every situation. Drying depends on the conditions after the rain. What my experience does show is that the wet state can last much longer than the rainfall itself.
For an irrigation system, continuing to block watering after a downpour can make sense. For a dashboard intended to answer “Is it raining right now?”, that persistence needs explaining. It is more accurate to interpret the entity as sensor activated or wet, versus sensor dry.
What I like and the limitations I found
The advantages of this setup
- Simple mechanism: two contacts connect directly to the ESP32.
- No sensor power supply: there is no need to run 3.3 V or 5 V to it.
- Long cable: the roughly 7 meters (23 feet) supplied with my unit make it easier to keep the electronics indoors.
- Local integration: I use ESPHome and Home Assistant without relying on a manufacturer app or account.
- Fewer issues associated with resistive boards: I have removed the sensing board whose traces corroded in my previous setup.
The trade-offs to accept
- Delayed detection in light rain: the first few drops are not enough.
- Slow drying: it can remain in the wet state for hours after the rain stops.
- No intensity or rainfall total: it only provides a binary state.
- No long-term durability results yet: my initial experience does not establish how many years it will last outdoors.
How it compares with my resistive sensor setup
| Feature | My previous setup | Aqualin Mini-Click |
|---|---|---|
| Detection | Resistive sensor board exposed to water | Hygroscopic discs and a mechanical contact |
| Response to a few drops | Triggered with very little water | Needs to reach its activation threshold |
| Return to dry | Depended on the board drying out | Can take many hours |
| Analog reading | Available in my setup | Not available |
| Intensity estimate | Derived from the analog signal | Not available |
| Maintenance observed | Replacing corroded sensor boards | Long-term maintenance still to be assessed |
| Connection I use | Digital and analog inputs | GPIO25 and GND |
| Useful information | Detection and an intensity estimate | Dry or activated by moisture |
Automations I would use it for
Its origins as an irrigation sensor help explain where it fits best. I would use it to block irrigation after detecting rain, display the wet state on a dashboard, send an activation notification, or combine it with other weather data to make decisions about watering the garden.
For retracting an awning or closing a window when rain begins, I would not choose it as the sole first-drop detector. Its activation threshold can delay action until a substantial amount of water has already fallen. That limitation matters more than how easy it is to connect to the ESP32.
It can also record the date of a rain-triggered activation. However, while it remains wet, it cannot identify a new rain event separately. Keep that in mind when interpreting historical data.
What I kept in Home Assistant and what needs reviewing
My previous installation already used the pluja node and the binary_sensor.sensor_de_lluvia_esphome entity. When I added the new ESP32, Home Assistant offered to migrate the configuration to the new device. In my case, it preserved the existing references to the main sensor, which was useful for my dashboard and automations.
I also had entities such as sensor.fecha_ultimo_dia_con_lluvia and sensor.days_since_last_rain. Those entities belong to my existing Home Assistant configuration and are not created by the ESPHome code provided below.
Keeping their names does not mean their interpretation remains exactly the same. I need to review whether they save the date when the sensor switches to ON, check the state periodically, or treat every day with a wet sensor as a rainy day. With drying times of many hours, those approaches can produce different results.
The rainfall intensity entities from my previous setup no longer have a measurement behind them. It makes no sense to keep a light, moderate, or heavy rain scale based on a contact that can only be open or closed.
Price and where to buy the sensor
The Aqualin Mini-Click I used cost €24.59 when I prepared this article. At that price, I find it an interesting option for using its mechanical contact in Home Assistant, provided its response times suit the automation we want to build.
You also need to factor in an ESP32 if you do not already have a spare board. The sensor does not connect to Home Assistant on its own; it needs the setup shown in the video and configured below.
Prices may change over time. The link above is an affiliate link, and I may earn a small commission if you make a purchase, at no additional cost to you.
Connecting it to the ESP32: the technical companion to this review
The video shows how I prepare the cable and connectors. To help you reproduce the setup, here are the wiring diagram, operating logic, and complete code. I used a board based on an ESP32-D0WD-V3, revision 3.1, configured as esp32dev with the Arduino framework.
Aqualin, wire 1 ───────── GPIO25
Aqualin, wire 2 ───────── GND
There is no polarity: either wire can connect to GPIO25, with the other connected to GND. The sensor does not connect to 3.3 V or 5 V. I am only using its internal switch; the ESP32 still needs its own power supply.
GPIO25 supports the ESP32’s internal pull-up resistor. When the contact is closed, the input is connected to GND; when it opens, the pull-up brings the input HIGH. That is why this configuration does not invert the signal.
| Physical state | Contact and input | State in Home Assistant |
|---|---|---|
| Sensor dry | Contact closed, GPIO25 LOW | OFF: dry |
| Sensor activated by moisture | Contact open, GPIO25 HIGH | ON: wet |
Before connecting the sensor, I checked this logic by leaving GPIO25 open and then temporarily connecting GPIO25 to GND with a jumper. I also checked the contact with a multimeter. A disconnected wire also produces a HIGH input, so an unexpected wet indication is another reason to inspect the connections.
The input configuration follows the ESPHome GPIO binary sensor documentation. GPIO capabilities vary across ESP32 models and pins: if you change boards, check the pin you intend to use.
Complete ESPHome configuration for the board
This is my board’s complete configuration. The name pluja belongs to my installation. If you use a different name, update the corresponding references in your project. The original configuration is preserved below, including its Spanish device and entity names.
esphome:
  name: pluja
  project:
    name: tecnoyfoto.pluja
    version: "0.2"

esp32:
  board: esp32dev
  framework:
    type: arduino

logger:

api:
  encryption:
    key: !secret pluja_api_encryption_key

ota:
  - platform: esphome
    password: !secret pluja_ota_password

wifi:
  ssid: !secret wifi_ssid
  password: !secret wifi_password
  power_save_mode: none

  ap:
    ssid: "Pluja Fallback"
    password: !secret pluja_ap_password

captive_portal:

web_server:
  port: 80
  local: true
  ota: false
  auth:
    username: admin
    password: !secret web_server_password

safe_mode:

button:
  - platform: safe_mode
    name: "Safe Mode Boot"
    entity_category: diagnostic

  - platform: restart
    name: "Reinicio pluja"
    entity_category: diagnostic

binary_sensor:
  - platform: gpio
    pin:
      number: GPIO25
      mode:
        input: true
        pullup: true
    name: "Sensor de lluvia ESPHome"
    device_class: moisture
    filters:
      - delayed_on: 5s
      - delayed_off: 30s
The entries required in secrets.yaml
The code uses !secret to keep credentials separate from the configuration. Add these six entries to your secrets.yaml file, or reuse any entries you already have with those names:
wifi_ssid: "YOUR_WIFI_NETWORK"
wifi_password: "YOUR_WIFI_PASSWORD"
pluja_api_encryption_key: "YOUR_ENCRYPTION_KEY_GENERATED_BY_ESPHOME"
pluja_ota_password: "YOUR_OTA_PASSWORD"
pluja_ap_password: "YOUR_FALLBACK_ACCESS_POINT_PASSWORD"
web_server_password: "YOUR_WEB_SERVER_PASSWORD"
The values above are placeholders that you must replace before validating and installing the configuration. For pluja_api_encryption_key, use a valid key generated by ESPHome. The web server lets you access the device on your local network using the username admin and the password you defined.
What the 5-second and 30-second filters do
The configuration includes delayed_on: 5s and delayed_off: 30s. The first requires the input to remain activated for five consecutive seconds before publishing ON. The second requires thirty consecutive seconds in the deactivated state before publishing OFF. If the input returns to the opposite state during that wait, the pending change is canceled.
These filters help reject brief changes in the contact or electrical signal. They do not compensate for the slow mechanism or detect pauses between raindrops. The sensor already keeps its contact open while the discs remain expanded: ESPHome cannot make them dry faster. The ESPHome binary sensor filters documentation explains this behavior.
I used device_class: moisture because the entity represents a wet or dry state more accurately than an indication of rain at this instant. The entity name still refers to rain to maintain continuity with my previous installation.
Outdoor installation matters, too
The sensor needs exposure to rain in a location representative of the area we want to monitor. An overhang, roof, or obstruction that intercepts water can affect its response. Exposure to sun and wind also affects drying and, therefore, how long it remains activated.
The long cable lets me place the sensor outside while keeping the ESP32 protected indoors. Splices and connectors need protection from water and moisture. Before considering the setup finished, check both activation and the return to a dry state with the sensor in its final position.
The setup I tested uses the internal pull-up resistor. If unexpected state changes appear with a different cable route, inspect the connections and possible interference; software filters are no substitute for a stable electrical installation.
My verdict: an irrigation option with clear limitations
The Aqualin Mini-Click is an interesting way to integrate a rain contact into Home Assistant with a simple, local setup. Its main appeal is removing the resistive sensor board exposed to water. Its main limitation is response time: it needs enough water to activate and can take many hours to return to a dry state.
I would choose it for irrigation automations that can accommodate that behavior. To respond to the first drops or know whether it is raining at this precise moment, I would look for a detector suited to that need. My initial experience lets me assess how it works, but not yet how it will perform after years outdoors.
Continue reading
Next related guide · 8 min read
Aqara Rain Sensor in Home Assistant: Is It Still Worth Using?
This was my first rain sensor for Home Assistant. I built it using an Aqara water leak sensor and a simple resistive rain plate…
Continue with this article