
This article may contain affiliate links. If you buy through these links, the price is the same for you and the store pays me a small commission that helps keep Tecnoyfoto running.

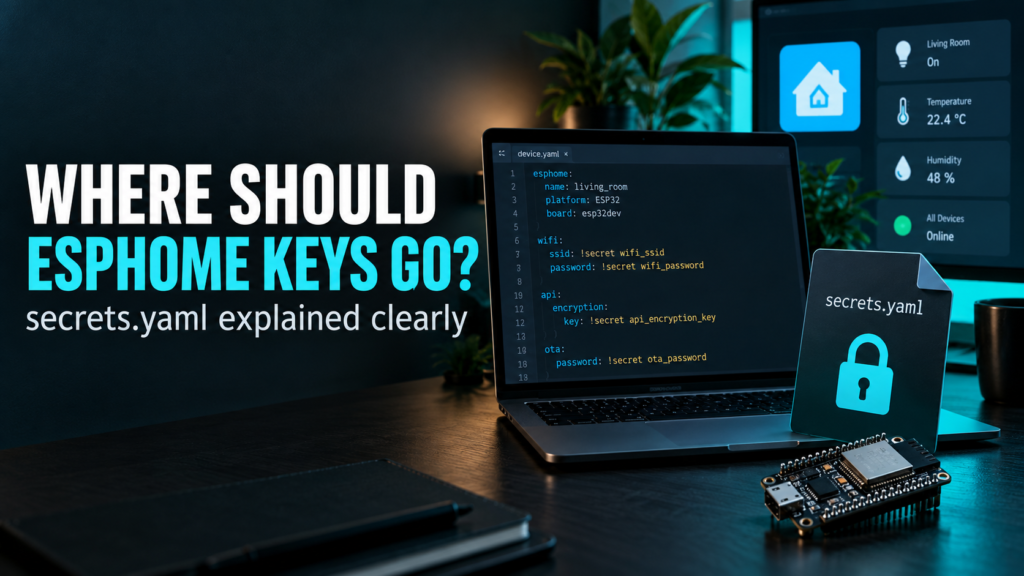
When you start using ESPHome, it is very easy to place Wi-Fi passwords, API encryption keys and other credentials directly inside every device YAML file.
It works, but as your installation grows it becomes difficult to maintain and much easier to expose sensitive information accidentally when sharing a configuration, taking screenshots or storing files in Git.
ESPHome provides a simple solution: secrets.yaml.
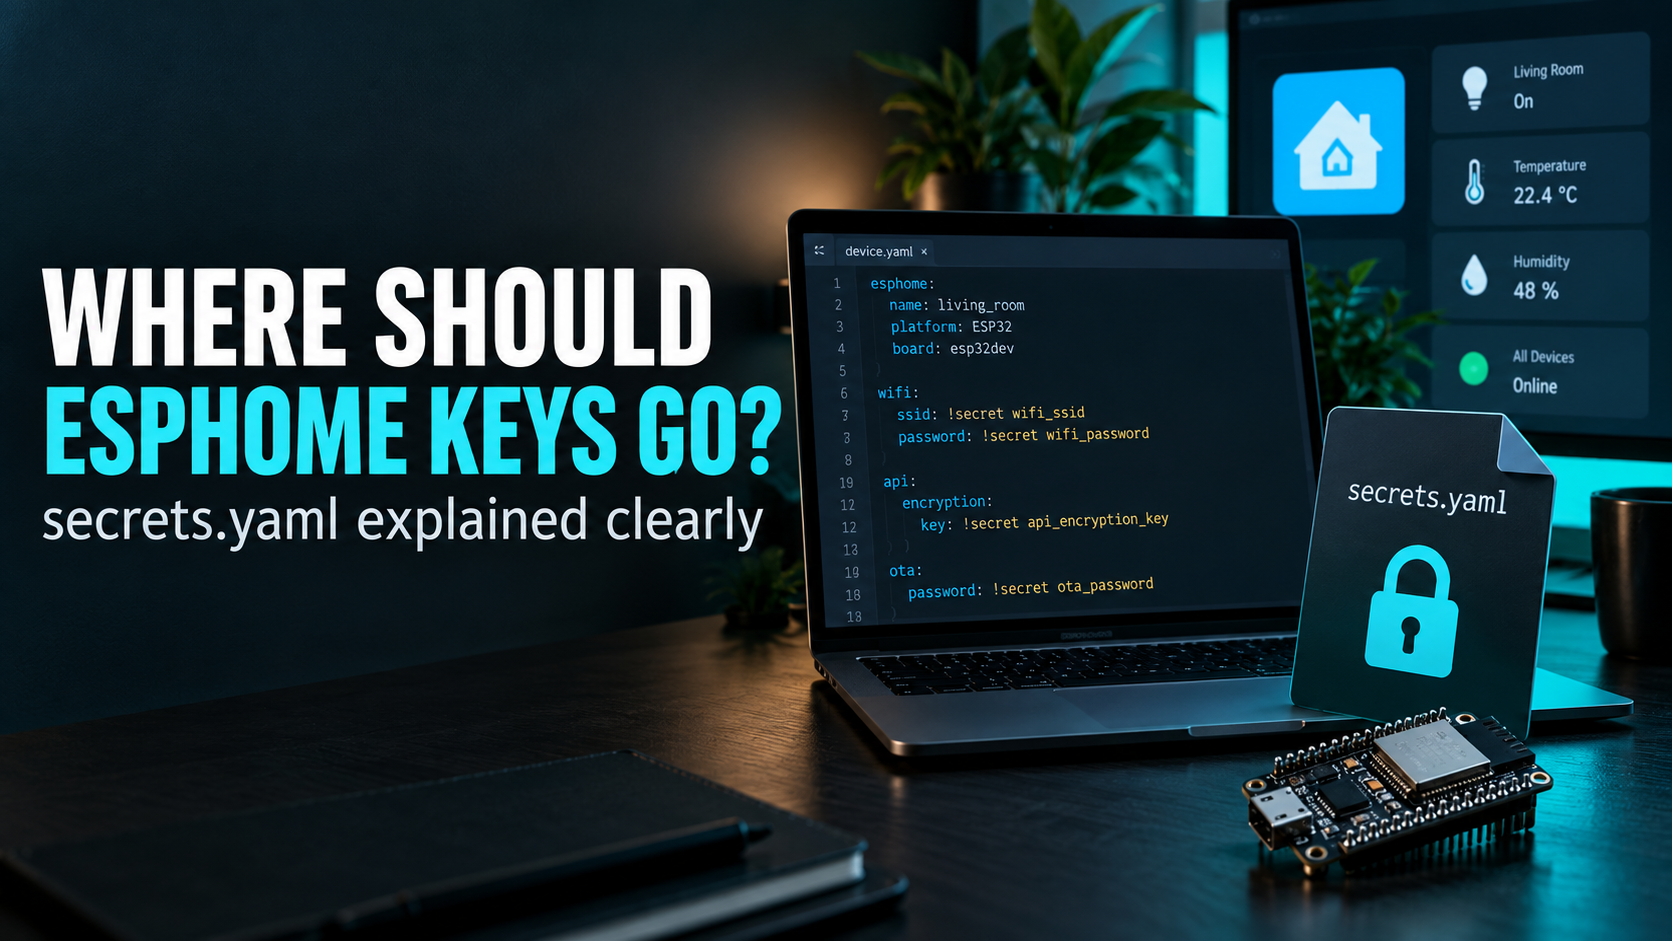
This file lets you keep credentials separate from the device configuration and reference them using !secret.
In this guide we will see how it works, what should go inside it, what it does not protect and how I recommend organising secrets when you have several ESPHome devices.
What is secrets.yaml?
secrets.yaml is a YAML file stored alongside your ESPHome configuration files.
Instead of writing sensitive values directly inside each device configuration, we give those values a name and store them in secrets.yaml.
wifi_ssid: "MyNetwork"
wifi_password: "my-long-wifi-password"

living_room_encryption_key: "BASE64_ENCRYPTION_KEY"

living_room_web_username: "admin"
living_room_web_password: "another-long-password"
The device YAML then references those values using !secret:
wifi:
  ssid: !secret wifi_ssid
  password: !secret wifi_password
ESPHome resolves the reference when it processes the configuration.
The name must match exactly.
For example:
!secret wifi_passwordlooks for:
wifi_password:inside secrets.yaml.
Why use secrets.yaml?
The main benefit is separation.
Your device configuration describes how the ESP32 or ESP8266 works.
The secrets file contains the values that should not be published accidentally.
This is especially useful when you:
- have many ESPHome devices;
- reuse the same Wi-Fi credentials;
- store configuration in Git;
- share YAML examples;
- create backups;
- use packages;
- work with other people;
- publish ESPHome configurations online.
Instead of copying a Wi-Fi password into ten different YAML files, you can reference the same secret from all of them.
What should go into secrets.yaml?
A good rule is simple:
if a value grants access, authenticates a user or device, or contains private information, it probably belongs in secrets.yaml.
- Wi-Fi passwords.
- Wi-Fi SSIDs if you prefer not to expose them in shared configurations.
- ESPHome native API encryption keys.
- OTA credentials when passwords are still used.
- OTA encryption keys on devices without a native API.
- Fallback access-point passwords.
- MQTT usernames and passwords.
- Web server usernames and passwords.
- Tokens.
- External service credentials.
- Private URLs containing authentication data.
A basic example
A simple secrets.yaml could contain:
wifi_ssid: "MyHomeWiFi"
wifi_password: "very-long-wifi-password"

living_room_encryption_key: "YOUR_32_BYTE_BASE64_KEY"

living_room_ap_password: "fallback-password"

living_room_web_username: "admin"
living_room_web_password: "web-password"
And the corresponding ESPHome configuration could use:
wifi:
  ssid: !secret wifi_ssid
  password: !secret wifi_password

  ap:
    ssid: "Living Room Fallback"
    password: !secret living_room_ap_password

api:
  encryption:
    key: !secret living_room_encryption_key

web_server:
  auth:
    type: digest
    username: !secret living_room_web_username
    password: !secret living_room_web_password
Use one API encryption key per device
I recommend using a different native API encryption key for every ESPHome device.
For example:
living_room_encryption_key: "..."
kitchen_encryption_key: "..."
rain_sensor_encryption_key: "..."
garage_encryption_key: "..."
This is better than using the same encryption key across your entire installation.
If one key is ever exposed, you only need to replace the key for that device instead of treating every ESPHome node as compromised.
API encryption and OTA are not the same thing
This is an important distinction.
The ESPHome native API is the communication channel normally used between the ESPHome device and Home Assistant.
A typical encrypted API configuration looks like this:
api:
  encryption:
    key: !secret living_room_encryption_key
OTA, or Over-The-Air updating, is the mechanism used to install new firmware over the network.
ESPHome 2026.9 and newer: encrypted OTA
Starting with ESPHome 2026.9, the recommended native OTA configuration supports encryption.
If the device already uses an encrypted native API, OTA can reuse that same device encryption key:
api:
  encryption:
    key: !secret living_room_encryption_key

ota:
  - platform: esphome
    encryption:
This is now preferable to using a separate OTA password because the firmware transfer itself is encrypted.
A password only authenticates the uploader. It does not provide the same confidentiality for the firmware image while it is travelling across the network.
Existing devices running older firmware
There is one important migration detail.
If an existing device is still running ESPHome 2026.8 or older, do not simply replace its OTA password with mandatory encryption and expect the first update to work.
The device first needs firmware capable of offering encrypted OTA.
A practical migration is:
- Keep the existing OTA method temporarily.
- Update the device to ESPHome 2026.9 or newer.
- Confirm the device is running the newer firmware.
- Replace the OTA password configuration with encrypted OTA.
For a brand-new device that you are flashing by USB or serial, you can configure encrypted OTA from the beginning.
Older password-based OTA
You may still find existing configurations such as:
ota:
  - platform: esphome
    password: !secret living_room_ota_password
This is still useful during migration or when encrypted OTA cannot yet be used, but for new configurations on current ESPHome versions I would prefer encryption.
What if the device uses MQTT instead of the native API?
If a device does not use the native ESPHome API, there is no API encryption key for OTA to inherit.
In that case OTA encryption can use its own unique key:
mqtt:
  broker: !secret mqtt_broker
  username: !secret mqtt_username
  password: !secret mqtt_password

ota:
  - platform: esphome
    encryption:
      key: !secret living_room_ota_encryption_key
Again, I would keep that key unique to the device.
Protect the fallback access point
ESPHome can create a fallback Wi-Fi access point when it cannot connect to your normal network.
If you use it, protect it with a strong password:
wifi:
  ap:
    ssid: "Living Room Fallback"
    password: !secret living_room_ap_password
Moving the password into secrets.yaml keeps it out of the shareable YAML, but it does not make a weak password strong.
Protect the ESPHome web server too
If you enable web_server, the ESPHome device exposes a local web interface.
I would not leave that interface unauthenticated.
web_server:
  port: 80

  auth:
    type: digest
    username: !secret living_room_web_username
    password: !secret living_room_web_password
Current ESPHome versions support Digest authentication, which is preferable to Basic authentication because the password itself is not sent directly with every request.
The web server should remain on your trusted local network and should not be exposed directly to the Internet.
Web server OTA is another update method
ESPHome can also allow firmware uploads through the device web interface.
This is separate from the native ESPHome OTA protocol.
If you do not need firmware updates through the regular web interface, there is no reason to enable that additional update path.
For devices where I use the web interface only for local monitoring, I prefer to keep web OTA disabled unless I specifically need it.
MQTT credentials
MQTT credentials also belong in secrets.yaml.
mqtt:
  broker: !secret mqtt_broker
  username: !secret mqtt_username
  password: !secret mqtt_password
Where practical, use authenticated users, unique credentials and encrypted communication between the ESPHome device and the MQTT broker.
What should not go into secrets.yaml?
Not everything needs to become a secret.
There is normally no reason to hide:
- the ESP32 board type;
- GPIO numbers;
- sensor names;
- device names;
- update intervals;
- filters;
- normal component settings;
- public entity names.
Moving every value into secrets.yaml does not improve security and makes configurations harder to understand and maintain.
Use secrets for credentials and private values, not as a second configuration file.
secrets.yaml is not encryption
This is probably the most important limitation to understand.
secrets.yaml is a plain-text file.
Its purpose is to keep sensitive values separate from device configuration files and reduce accidental exposure.
It does not protect those values from someone who can read the file.
It also does not magically remove credentials from the firmware.
For example, the ESP32 still needs your Wi-Fi credentials in order to connect to the network, so those values ultimately become part of the firmware running on the device.
That means secrets.yaml protects primarily against accidental disclosure in configuration files. It is not a replacement for device security, encrypted communications, protected backups or network segmentation.
Git and .gitignore
If you keep your ESPHome configuration in Git, make sure secrets.yaml is excluded.
secrets.yaml
*.backup
But adding the file to .gitignore only prevents future commits.
If you previously committed a Wi-Fi password, API key or token, removing it from the current version of the repository is not enough.
The old value may still exist in Git history.
In that situation, assume the credential has been exposed and rotate or revoke it.
Backups also contain secrets
It is easy to focus on Git and forget about backups.
If your ESPHome configuration is included in a Home Assistant backup, secrets.yaml may be included too.
That is useful for recovery, but it also means backups must be treated as sensitive data.
Protect them appropriately and make sure you can restore them when needed.
Using Home Assistant secrets with ESPHome
Home Assistant and ESPHome normally have separate secrets.yaml files.
If you prefer to keep common credentials in one place, ESPHome can include the Home Assistant secrets file.
Inside the ESPHome secrets.yaml file you can use:
<<: !include ../secrets.yamlWith the normal Home Assistant directory structure, this imports the secrets from the parent Home Assistant configuration directory.
Whether you prefer one shared file or separate files is mostly an organisational decision.
I generally prefer keeping ESPHome-specific device keys clearly named so it is obvious which device each credential belongs to.
A naming scheme that scales
Once you have more than a few devices, good names become important.
Instead of:
api_key_1:
api_key_2:
password_3:
use names that describe both the device and the purpose:
rain_sensor_encryption_key:
rain_sensor_ap_password:
rain_sensor_web_password:

kitchen_encryption_key:
kitchen_ap_password:

garage_encryption_key:
garage_web_password:
Six months later, you will know exactly what each value is used for.
Common errors
Secret not found
If ESPHome reports that a secret cannot be found, check:
- the exact key name;
- capitalisation;
- the location of
secrets.yaml; - YAML indentation;
- whether the expected file is actually being included.
Special characters in passwords
If a password contains spaces, colons, hashes or other characters that could be interpreted by YAML, quote the complete value.
wifi_password: "My:Very#Long Password!"The configuration validates but the device does not connect
A valid !secret reference only proves that ESPHome found a value.
It does not prove that the value itself is correct.
If Wi-Fi fails, check the actual SSID, password, signal strength, authentication mode and device logs.
Changing an API key and losing Home Assistant connectivity
Be careful when replacing the native API encryption key on an existing device.
Home Assistant must know the same key as the ESPHome device.
Changing one side without updating the other will break the encrypted connection.
My practical checklist
- Use
!secretfor passwords, keys and tokens. - Keep
secrets.yamlout of public repositories. - Use a unique native API encryption key for every device.
- On current ESPHome versions, prefer encrypted native OTA.
- Use strong fallback AP credentials.
- Authenticate the web server and keep it local.
- Do not expose the ESPHome web server directly to the Internet.
- Treat backups as sensitive data.
- Rotate credentials after a suspected leak.
- Use clear secret names that identify the device and purpose.
Conclusion
secrets.yaml is one of the best habits to adopt early when working with ESPHome.
It does not make a sensor faster, more accurate or more reliable.
What it does is keep credentials out of normal device configuration, reduce duplication and make it much safer to share or version your YAML files.
But it is important to understand its limits.
secrets.yaml is organisation and protection against accidental disclosure, not encryption.
The sensible approach is to combine it with unique device keys, encrypted API communication, encrypted OTA where supported, protected web access, secure backups and a network that does not expose ESPHome devices unnecessarily.
Once that structure is in place, adding the tenth or twentieth ESPHome device becomes much easier to manage without spreading credentials across dozens of YAML files.
Continue reading

Next related guide · 13 min read
How to Protect Home Assistant Passwords with secrets.yaml and Codex
Protecting Home Assistant passwords with secrets.yaml is one of the most important improvements you can make as your installation grows. Automations, scripts, sensors, databases,…
Continue with this article