
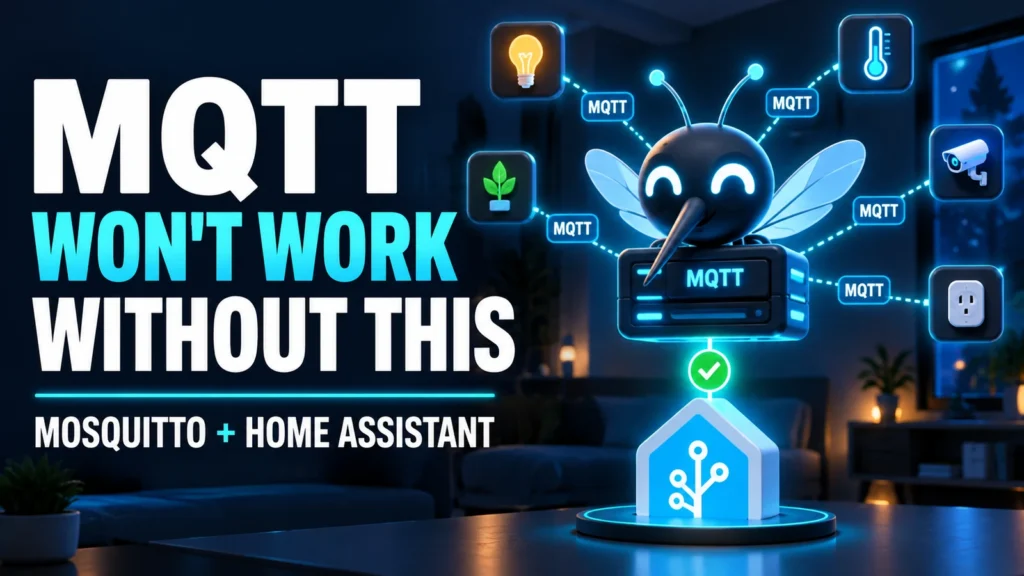

Installing Mosquitto Broker is what allows Home Assistant, Zigbee2MQTT, Tasmota, and many IoT devices to exchange MQTT messages. This guide shows you the recommended installation method for Home Assistant OS, how to connect the MQTT integration, create a secure account for your devices, and verify that the broker actually works.
This guide is updated for 2026. If you arrived from an older tutorial, forget the old Supervisor and Add-on Store screens: since Home Assistant 2026.2, add-ons are called Apps. You also do not need to create an mqtt.yaml file merely to connect Home Assistant to the broker.
What Mosquitto is and why MQTT needs a broker
MQTT uses a publish-and-subscribe model. One device publishes a message to a topic, another subscribes to that topic, and the broker receives and distributes the messages. Mosquitto is that intermediary: lightweight, local, open source, and widely used with Home Assistant.
Two components are often confused:
- Mosquitto broker app: the MQTT server that receives and distributes messages.
- MQTT integration: the connection that lets Home Assistant communicate with the broker and create devices and entities.
If you are still building your system, begin with the complete Home Assistant setup guide. To go further into topics, payloads, QoS, retain, and discovery, use the step-by-step Home Assistant MQTT guide and the advanced MQTT Platinum integration guide.
Before installing Mosquitto Broker
- Check your installation type. This guide’s method requires Home Assistant OS. With Home Assistant Container, run Mosquitto in a separate container or server, then connect the MQTT integration to its IP address.
- Update Home Assistant. If you run an older version, follow the guide to update Home Assistant safely first.
- Create a backup. This is especially important if you already use another broker or plan to reinstall Mosquitto. Follow the Home Assistant Google Drive backup guide.
How to install Mosquitto Broker on Home Assistant OS
1. Install the official app
- Open Settings > Apps.
- Select Install app.
- Find Mosquitto broker and open the official app page.
- Select Install and wait for it to finish.
- Start the app and check its log. If no errors appear, enable start on boot and watchdog so Home Assistant keeps it available.
Do not copy usernames and passwords from the internet. Home Assistant generates secure internal credentials for its connection to the official app and keeps them secret. Mosquitto’s default configuration is enough for most home installations.
2. Create an account for MQTT devices
Home Assistant can connect to the broker automatically, but an external client—such as Tasmota, Zigbee2MQTT running on another machine, or a test program—needs its own credentials.
- Go to Settings > People > Users.
- Create a dedicated local user, for example
mqtt_devices. - Assign a long, unique, randomly generated password.
- Do not grant administrator privileges.
If the option to create users is missing, enable Advanced Mode in your profile. Do not use homeassistant or addons as the username because they are reserved. If you store credentials in YAML, protect them using the guide to securing Home Assistant passwords with secrets.yaml.
3. Add the MQTT integration
- Open Settings > Devices & services.
- The MQTT integration should appear as discovered. Select Configure.
- Keep MQTT discovery enabled unless you have a specific reason to disable it.
- Confirm the setup. Home Assistant assigns its internal credentials automatically.
If MQTT is not discovered, make sure Mosquitto is running, wait a minute or two, and reload the page. You can also select Add integration, search for MQTT, and manually enter the broker host, port, and credentials.
Connection details an MQTT device needs
| Setting | Typical value |
|---|---|
| Server or broker | Home Assistant’s local IP address |
| MQTT port | 1883 on a trusted local network |
| Username | The dedicated local user you just created |
| Password | That user’s unique password |
| Client ID | A different identifier for every client |
| Discovery prefix | homeassistant, unless you changed it |
Port 1883 does not encrypt traffic. It can be appropriate on a protected home LAN, but you should never expose it directly to the internet. Use TLS or a VPN for connections across untrusted networks, and follow good password practices.
How to verify that Mosquitto works
You do not need any external tools for a basic test:
- Go to Settings > Devices & services.
- Open the MQTT integration and select Configure.
- Under Listen to a topic, enter
tecnoyfoto/testand start listening. - Under Publish a packet, use the topic
tecnoyfoto/testand payloadhello mqtt. - Publish the message. If it appears in the listening panel, the broker and integration are communicating correctly.
Receiving the message does not automatically create an entity. The device must send a valid MQTT Discovery message, or you must add the device through an MQTT subentry or YAML. The MQTT Platinum guide explains discovery, availability, and stable entity design.
Using Mosquitto with Zigbee2MQTT, Tasmota, and ESPHome
Once the broker passes the test, other services can connect to it using Home Assistant’s local IP address, the configured port, and a dedicated user:
- Zigbee2MQTT: follow the complete Zigbee2MQTT installation guide and, before a major upgrade, the guide to updating Zigbee2MQTT safely.
- Tasmota: enter the broker details in the device’s MQTT settings. The Tasmota installation guide covers the rest of the process.
- ESPHome: it normally uses its native API with Home Assistant and does not require MQTT. Read what ESPHome is and when to use it before choosing a method.
Common Mosquitto problems and fixes
MQTT shows as disconnected
Check the Mosquitto app log first. Confirm the host and port, verify that the user exists, and make sure no other client uses the same Client ID. Home Assistant requires an MQTT 5-compatible broker; the official Mosquitto app meets that requirement.
The device connects, but no entities appear
Make sure discovery is enabled and listen to homeassistant/#. If no discovery configuration arrives, the issue is with the device or its topic—not Mosquitto. For the most common cases, use the guide to fixing MQTT broker errors in Home Assistant.
SSL certificate verification error
If you see CERTIFICATE_VERIFY_FAILED, check the certificate and server name. In MQTT reconfiguration, certificate validation can remain on Auto when you use a trusted certificate authority. Do not permanently disable validation without understanding the risk.
Mosquitto stopped working after reinstallation
The Home Assistant integration automatically updates its internal password after the app is reinstalled, but you must restore or recreate any additional users used by external devices. Save a copy of the app’s user options before reinstalling.
Old configuration you no longer need
- You do not need to define the broker connection in
configuration.yamlwhen the integration is configured through the UI. - You do not need an
mqtt.yamlfile simply to install Mosquitto. - Never reuse usernames and passwords published in old examples.
- Do not enable custom configuration or advanced ACLs unless you need them.
- Do not expose ports 1883 or 1884 directly to the internet.
Frequently asked questions
Are Mosquitto and MQTT the same thing?
No. MQTT is the communication protocol; Mosquitto is a broker that implements that protocol.
Do I need Mosquitto to use Home Assistant?
No. You only need a broker when a device or service uses MQTT. Many integrations communicate through other protocols.
Can I use a broker installed on another computer?
Yes. Add the MQTT integration manually and enter the external broker’s IP address or hostname, port, and credentials.
Should every MQTT message be retained?
No. Retain makes the broker store a topic’s last message for new subscribers. It is useful for states and discovery configuration, but careless use can leave stale states behind.
Conclusion
The recommended Home Assistant OS setup is straightforward: install the official Mosquitto app, let Home Assistant manage its internal credentials, create a dedicated account for external clients, add the MQTT integration, and run a publish-and-listen test. You now have a local messaging foundation for devices and services such as Zigbee2MQTT and Tasmota.
Reference documentation: Home Assistant MQTT integration and the official Mosquitto broker app documentation.
Continue reading

Next related guide · 6 min read
Home Assistant MQTT Setup: Your Step-by-Step Guide for 2026
Last updated on January 25, 2026 In 2026, MQTT is still the undisputed backbone for robust IoT communication in any serious smart home. But…
Continue with this article