

Updated August 15, 2026 · Concepts, installation paths, hardware, security, and workflow checked against current documentation.
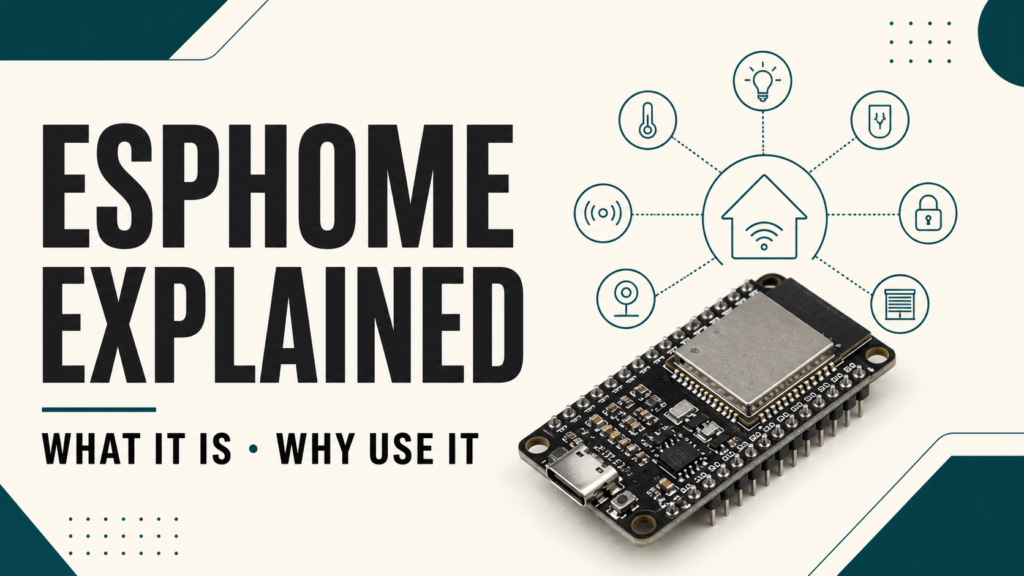
ESPHome turns inexpensive microcontrollers into sensors, switches, displays, and other smart devices through a visual configuration or a YAML file. It generates the firmware, installs it on the board, and lets the device communicate directly with Home Assistant on your local network.
You do not have to write a complete C++ application for every project. You describe the board and its components, ESPHome validates that definition, and then compiles purpose-built firmware. The microcontroller runs that firmware itself, so local behavior can continue even when Home Assistant is temporarily unavailable.
ESPHome in plain English
- Configuration system: defines sensors, outputs, communications, and automations.
- Firmware generator: converts the definition into a program for the selected board.
- Installation tool: flashes devices over USB or wirelessly through OTA.
- Local integration: exposes entities and actions to Home Assistant through the native API.
- Component catalog: provides drivers for sensors, relays, lights, displays, buses, and networking.
ESPHome is part of the Open Home Foundation and is closely integrated with Home Assistant. It is no longer limited to ESP8266 and ESP32 hardware, although ESP32 remains the primary platform for new development.
From YAML to a Home Assistant device
- Select the exact board and define its components in Device Builder or YAML.
- ESPHome validates names, pins, dependencies, and options.
- It compiles firmware specifically for that node.
- The first installation normally uses USB; later updates can use OTA.
- Home Assistant discovers the node and creates entities through the ESPHome integration.
The YAML file is not interpreted line by line on the microcontroller. It is the source definition used to generate firmware. That is why the board and pin configuration must match the physical hardware before installation.
Local control and privacy
An ESPHome node communicates with Home Assistant over the local network using an optimized protocol. It does not require a vendor cloud account or send normal sensor readings to an outside server. That removes a major external dependency and helps devices remain useful if a commercial app disappears.
Local does not automatically mean secure. Encrypt the API, protect OTA, store credentials in secrets.yaml, and never expose a node directly to the public Internet. Our ESPHome WiFi guide covers secure connectivity and recovery options.
Supported hardware
| Family | Good fit | Important note |
|---|---|---|
| ESP32 | New projects, Bluetooth, audio, displays, or many peripherals | C3, C6, S2, S3, H2, and other variants have different capabilities |
| ESP8266 | Simple WiFi sensors and relays or existing hardware | Less memory, fewer GPIOs, and no Bluetooth |
| RP2040 / RP2350 | USB-oriented projects and supported boards | Networking depends on the board |
| BK72xx, RTL87xx, LN882x | Reusing certain retail smart devices | Support depends on the chip and components |
| Host | Testing compatible components on a computer | It does not replace physical microcontroller I/O |
“ESP32” identifies a family, not one universal board. Verify the exact variant and pinout before copying a configuration. Our detailed ESP32 guide explains the family and board selection.
Device Builder versus YAML
Device Builder provides a guided interface for creating a node, selecting a platform, and configuring components. It is the easiest starting point for most Home Assistant users. YAML remains the complete representation and is often better for review, reuse, packages, and version control.
The two approaches describe the same device. You can start visually and edit YAML when you need more control. Always check the current component documentation instead of guessing from an old example because schemas do change.
A minimal secure configuration
This example creates an ESP32 node with logging, encrypted API access, protected OTA, and secret-based WiFi. Change the board and pins to match your hardware:
esphome:
  name: living-room-sensor
  friendly_name: Living Room Sensor

esp32:
  board: esp32dev

logger:

api:
  encryption:
    key: !secret api_encryption_key

ota:
  - platform: esphome
    password: !secret ota_password

wifi:
  ssid: !secret wifi_ssid
  password: !secret wifi_password

binary_sensor:
  - platform: gpio
    name: "Button"
    pin:
      number: GPIO23
      mode:
        input: true
        pullup: true
      inverted: true
The sensitive values live in secrets.yaml. Multiple nodes can reuse them without embedding passwords in every configuration or accidentally committing them to a public repository.
Ways to install ESPHome
- Home Assistant app: the usual choice with Home Assistant OS or another supported installation.
- Desktop app: a guided setup for Windows, macOS, and Linux.
- Command line: useful for development, automation, and repeatable validation.
- Web installer: available for some ready-made projects in a compatible browser.
The first USB flash requires a data cable and sometimes a driver for the board’s USB-to-serial chip. Once the node is working, later firmware can normally be sent over the network.
A reliable project workflow
- Identify the exact board, revision, logic voltage, and pinout.
- Start with logging, WiFi, API, and OTA only.
- Add one component at a time and validate before installing.
- Read logs for resets, bus errors, and weak signal.
- Use stable names and document addresses, pins, and calibration values.
- Back up YAML and
secrets.yamlsecurely.
Why people choose ESPHome
- Local control without a vendor account.
- Deep Home Assistant integration.
- A large reusable component catalog.
- OTA updates, remote logs, and diagnostics.
- On-device automations for fast local behavior.
- Configurations that can be reviewed and versioned.
Limitations and safety
ESPHome simplifies firmware, not electrical engineering. You still have to respect voltage, current, isolation, and wiring requirements. A GPIO cannot drive a substantial load directly, and a low-voltage prototype should never be improvised next to mains wiring.
Firmware also consumes memory and processing resources. A complex ESP8266 configuration can run into RAM or flash limits, while an ESP32 typically provides more headroom. Retail devices may use undocumented chips or protection circuits and are not always safe candidates for modification.
ESPHome, Arduino, Tasmota, and Zigbee
| Option | Strength | Best fit |
|---|---|---|
| ESPHome | Local integration and declarative configuration | Custom Home Assistant devices |
| Arduino / ESP-IDF | Complete control over the application | Protocols or logic not covered by ESPHome |
| Tasmota | General firmware for many retail devices | Compatible plugs, relays, and sensors |
| Zigbee | Mesh networking and low-power sensors | Battery devices and router-assisted coverage |
These options are not interchangeable. ESPHome is especially compelling when you want to define the hardware precisely and expose native entities to Home Assistant without a cloud service.
Good first projects
- Temperature, humidity, pressure, or air-quality sensors.
- Door contacts, leak detection, and presence sensors.
- Relays and lights with physical local controls.
- Energy, pulse, distance, or level monitoring.
- Status displays and touch panels.
- Bluetooth proxies and voice devices on supported hardware.
Start with one button or one temperature sensor. A small first project teaches the entire workflow without mixing power, bus, WiFi, and automation problems at the same time.
Checked documentation
- ESPHome overview, installation, and platforms.
- Getting started with Home Assistant.
- ESPHome YAML configuration.
- ESPHome native API.
- Board selection and identification.
Frequently asked questions
Do I need programming experience?
Not for common projects. You do need to understand the wiring, component options, and basic YAML structure. C++ lambdas are optional for advanced cases.
Does ESPHome work without Home Assistant?
The node runs its own firmware and can contain local automations. Home Assistant remains the primary client for dashboards, history, and automations involving multiple devices.
Should I buy ESP32 or ESP8266?
ESP32 usually provides more headroom and features for a new build. ESP8266 is still practical for simple WiFi nodes and hardware you already own.
Does everything stay local?
Normal Home Assistant communication is local. Whether a specific project reaches the Internet depends on the extra components and services you configure.
ESPHome’s real strength is turning a readable hardware definition into a maintainable local device. Success comes from choosing the right board, validating each component, and documenting safe wiring—not from copying the largest YAML file you can find.