

Updated August 6, 2026 · Migrated to one_wire and dallas_temp, with wiring, alerts and security checked against current documentation.
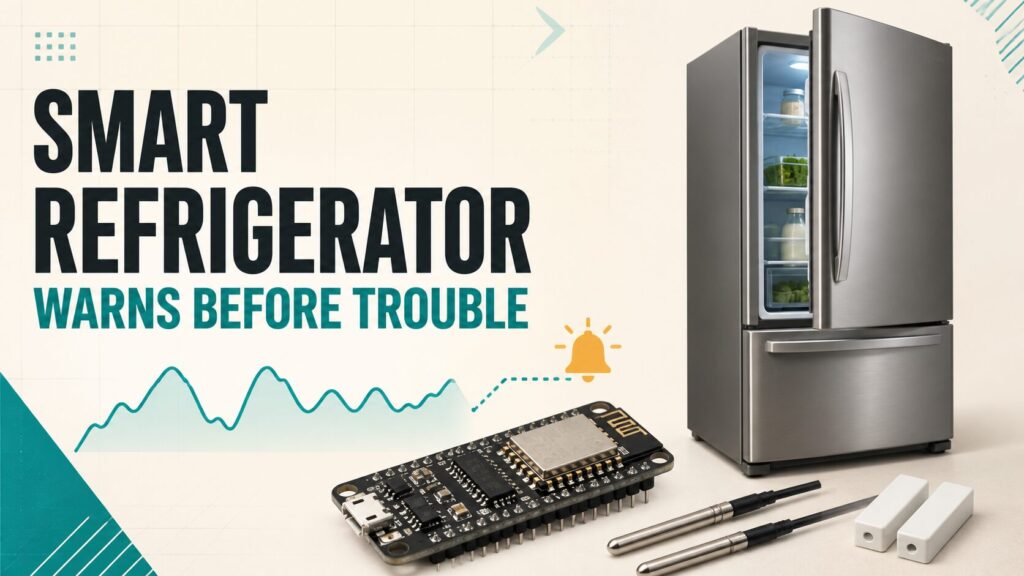
A smart refrigerator does not have to be a new appliance or depend on a manufacturer cloud. One ESP8266, two DS18B20 probes and two magnetic contacts can report refrigerator and freezer temperature, show whether either door is open and send useful alerts to Home Assistant. ESPHome keeps the project local and adaptable.
This guide updates the original build. The old dallas platform is no longer the current syntax, the 1-Wire bus needs an approximately 4.7 kΩ pull-up resistor, and one-second readings are unnecessary for a slow-changing appliance. The corrected version also fixes the dashboard entities and adds delayed alerts to prevent notification noise.
What this smart refrigerator monitor can do
- Measure refrigerator and freezer temperature separately.
- Report each door as open or closed.
- Keep history that can reveal unusual cycles or a developing failure.
- Warn when a door remains open or temperature stays above a chosen threshold.
- Send data locally through the native ESPHome API.
This is a monitoring system, not a refrigerator controller. It does not change the thermostat or switch the compressor. Monitoring alone does not save electricity, but an early warning may help you close a door, correct a setting or investigate a fault before food is lost.
Parts you will need
- An ESP8266 NodeMCU or Wemos D1 mini board.
- Two waterproof, three-wire DS18B20 probes.
- Two normally-open magnetic reed contacts.
- One 4.7 kΩ resistor for the complete 1-Wire bus.
- Wire, insulation, solder and a stable USB power supply.
Keep the board, power supply and electrical joints outside the appliance. Only the probes and necessary low-voltage wiring should enter the compartments. Never drill into a refrigerator wall: refrigerant tubing, wiring and insulation may be hidden inside. Route thin cable through the door gasket without deforming it, then confirm the door still seals completely.
Correct DS18B20 and door-contact wiring
| Part | ESP8266 | Connection |
|---|---|---|
| Both DS18B20 VCC wires | 3V3 | Three-wire powered mode |
| Both DS18B20 GND wires | GND | Common ground |
| Both DS18B20 DATA wires | GPIO14 / D5 | Both probes share the bus |
| 4.7 kΩ resistor | 3V3 ↔ GPIO14 | Required 1-Wire pull-up |
| Refrigerator reed contact | GPIO4 / D2 ↔ GND | Input with internal pull-up |
| Freezer reed contact | GPIO5 / D1 ↔ GND | Input with internal pull-up |
The entire bus needs one resistor between 3.3 V and DATA. It was missing from the old wiring illustration. The current ESPHome 1-Wire documentation recommends about 4.7 kΩ. If long wiring causes dropouts, inspect power, common ground, joints and topology before changing software.
Find the two probe addresses first
Every DS18B20 has a unique address. Upload this minimal bus configuration, open the ESPHome logs and record both discovered addresses:
one_wire:
  - platform: gpio
    pin: GPIO14
To identify them, hold one probe in your hand and watch which reading changes. Addresses are safer than indexes in a multi-probe installation because an index can change after a sensor is added or replaced.
Complete current ESPHome YAML
Replace both example addresses with the values shown in your logs. This configuration uses dallas_temp, encrypted API access, secret-based credentials, protected OTA and a 60-second update interval that suits the thermal inertia of a refrigerator.
substitutions:
  device_name: "smart-refrigerator"
  friendly_name: "Smart Refrigerator"

esphome:
  name: ${device_name}
  friendly_name: ${friendly_name}

esp8266:
  board: d1_mini

logger:

api:
  encryption:
    key: !secret api_encryption_key

ota:
  - platform: esphome
    password: !secret ota_password

wifi:
  ssid: !secret wifi_ssid
  password: !secret wifi_password
  ap:
    ssid: "Refrigerator Fallback"
    password: !secret fallback_password

captive_portal:

one_wire:
  - platform: gpio
    pin: GPIO14

sensor:
  - platform: dallas_temp
    address: 0x1234567812345628
    name: "Refrigerator temperature"
    id: refrigerator_temperature
    update_interval: 60s
    accuracy_decimals: 1
    device_class: temperature
    state_class: measurement

  - platform: dallas_temp
    address: 0xABCDEF0123456728
    name: "Freezer temperature"
    id: freezer_temperature
    update_interval: 60s
    accuracy_decimals: 1
    device_class: temperature
    state_class: measurement

binary_sensor:
  - platform: gpio
    name: "Refrigerator door"
    id: refrigerator_door
    device_class: door
    pin:
      number: GPIO4
      mode:
        input: true
        pullup: true
      inverted: true
    filters:
      - delayed_on_off: 50ms

  - platform: gpio
    name: "Freezer door"
    id: freezer_door
    device_class: door
    pin:
      number: GPIO5
      mode:
        input: true
        pullup: true
      inverted: true
    filters:
      - delayed_on_off: 50ms
Store wifi_ssid, wifi_password, api_encryption_key, ota_password and fallback_password in secrets.yaml. Our secure ESPHome WiFi guide covers the surrounding configuration. Change the board definition and verify pins if you use a different ESP8266.
Why the old dallas platform no longer works
The original file used a dallas: hub and platform: dallas sensors. Current ESPHome separates the bus as one_wire and the probes as platform: dallas_temp. Pasting the old block into a modern installation results in a configuration error.
The one-second update interval has also been removed. Air temperature near a probe changes whenever a door opens or the compressor cycles. More readings do not make the probe more accurate, while they do create unnecessary traffic and history. The official component default is 60 seconds.
Probe and contact placement
- Mount each probe away from a wall, evaporator plate or direct cold-air outlet.
- Avoid the immediate door opening if you want a stable trend rather than the fastest response.
- Align each magnet and reed switch when the door is fully closed.
- Test several openings before attaching the contacts permanently.
- Insulate exposed conductors from condensation and keep joints away from food.
A small container of water can damp rapid refrigerator-probe swings, although it also slows response. Start by comparing both probes with a trustworthy thermometer and allow the installation to stabilize for several hours.
Home Assistant integration and dashboard
After Home Assistant discovers the ESPHome node, it exposes two temperature entities and two door binary sensors. The original project dashboard below shows both compartments and door states; its interface labels are in Spanish, but the layout is language-independent.

An Entities card is simple and robust. Replace the entity IDs with those created by your installation:
type: entities
title: Smart refrigerator
show_header_toggle: false
entities:
  - entity: sensor.refrigerator_temperature
    name: Refrigerator
  - entity: sensor.freezer_temperature
    name: Freezer
  - entity: binary_sensor.refrigerator_door
    name: Refrigerator door
  - entity: binary_sensor.freezer_door
    name: Freezer door
Alert when a door is left open
Notifying every normal opening quickly becomes annoying. This automation waits two minutes and only sends a message if a door is still open. Replace the phone action and entity IDs:
alias: Refrigerator - door left open
triggers:
  - trigger: state
    entity_id:
      - binary_sensor.refrigerator_door
      - binary_sensor.freezer_door
    to: "on"
    for: "00:02:00"
actions:
  - action: notify.mobile_app_your_phone
    data:
      title: "Refrigerator door"
      message: >-
        {{ trigger.to_state.name }} has been open for more than two minutes.
mode: parallel
max: 2
The 50 ms ESPHome filter removes brief electrical bounce. The two-minute Home Assistant delay solves a different problem: deciding when an ordinary opening has lasted long enough to deserve attention.
High-temperature alert
The FDA recommends keeping a refrigerator at 40 °F (4 °C) or below and a freezer at 0 °F (−18 °C). Probe position, compressor cycles and door openings can cause brief peaks, so this example uses a margin and requires 15 continuous minutes. A DIY sensor reading alone cannot determine whether food is safe.
alias: Refrigerator - temperature too high
triggers:
  - trigger: numeric_state
    entity_id: sensor.refrigerator_temperature
    above: 6
    for: "00:15:00"
    id: refrigerator
  - trigger: numeric_state
    entity_id: sensor.freezer_temperature
    above: -15
    for: "00:15:00"
    id: freezer
actions:
  - action: notify.mobile_app_your_phone
    data:
      title: "Check the refrigerator"
      message: >-
        {{ trigger.to_state.name }} is at
        {{ trigger.to_state.state }} °C and has been warm for 15 minutes.
mode: single
Test the automation and tune its thresholds to your appliance’s normal cycle. A for timer resets when Home Assistant restarts or automations reload. If that behavior is unacceptable, store the start time in a helper and trigger from that persisted value.
Troubleshooting
| Symptom | What to check |
|---|---|
| No 1-Wire devices found | 4.7 kΩ resistor, 3.3 V supply, common ground, GPIO14 and cable joints. |
| A probe reports 85 °C or impossible values | Power and intermittent wiring; do not hide a physical fault with an automation. |
| Door state is reversed | Add or remove inverted: true for your contact type. |
| Door state chatters | Realign the magnet and contact; increase delayed_on_off slightly. |
| Temperature swings widely | Move the probe and examine full compressor cycles, not one reading. |
| Unstable WiFi | Keep the ESP outside the metal enclosure and inspect coverage and power. |
How this guide compares with other projects
Many tutorials cover only one probe, retain legacy YAML or rely on an external cloud. DigiKey’s recent freezer project is particularly good at routing a flat cable through the gasket, while other guides focus on graphs rather than door detection. This build combines two temperature probes, two contacts, local control, current syntax and delayed alerts in one node.
If you need temperature only and cannot provide nearby power, a Zigbee or Bluetooth sensor may be easier. If you want two compartments, door status and fully customizable local alerts, ESPHome offers more control. This monitor must not replace the appliance’s internal protections or directly switch its compressor.
Original build video
The video preserves the physical installation and Home Assistant result. Use the corrected YAML on this page for current firmware instead of the legacy dallas block.
Checked sources and documentation
- ESPHome: 1-Wire bus and pull-up resistor.
- ESPHome: dallas_temp sensor.
- ESPHome: GPIO binary sensor, inversion and debounce.
- Home Assistant: automation triggers and
forduration. - FDA: safe refrigerator and freezer temperatures.
Frequently asked questions
Can two DS18B20 probes use the same GPIO?
Yes. Both probes share DATA, 3.3 V and GND. Their unique addresses identify them, and the complete bus uses one approximately 4.7 kΩ pull-up resistor.
Should the ESP8266 go inside the refrigerator?
No. Keep it outside to avoid condensation, low temperature and poor radio performance inside a metal cabinet. Route only the probes and required low-voltage wiring through the gasket.
Does this system control the compressor?
No, deliberately. It monitors temperatures and doors and sends alerts without bypassing the appliance’s thermostat or safety controls.
Can I use an ESP32 instead?
Yes. Change the board block and select three suitable GPIOs: one bidirectional pin for 1-Wire and two inputs for the contacts. Verify the pinout of the exact ESP32 variant instead of copying ESP8266 labels.
With correct wiring and sensible alerts, an ordinary refrigerator gains the most useful connected features without sending its data to a vendor cloud: temperature history, door status and local warnings before a small problem goes unnoticed.
Continue reading
Next related guide · 9 min read
KY-037 with ESPHome: Sound Detection, Not Fake dB
Updated August 6, 2026 · Code and limitations checked against current ESPHome documentation. A KY-037 with ESPHome is useful for detecting a clap, knock,…
Continue with this article