
This article may contain affiliate links. If you buy through these links, the price is the same for you and the store pays me a small commission that helps keep Tecnoyfoto running.

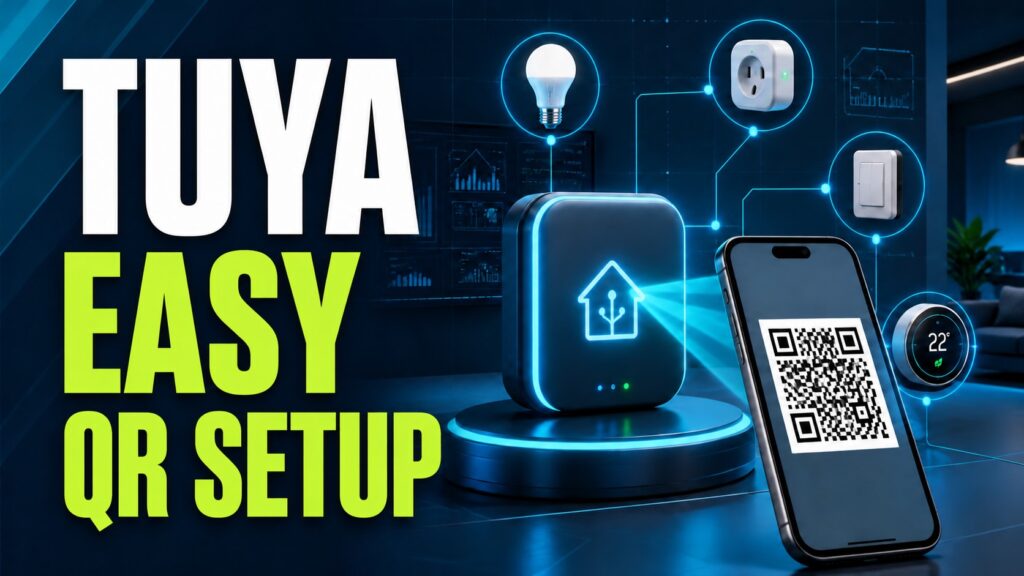
Updated August 27, 2026. Home Assistant’s official Tuya integration no longer requires the Tuya IoT developer-project workflow found in many older guides. The current setup starts in Smart Life or Tuya Smart, uses your User Code, and links the account with a QR code.
The official Tuya integration is cloud-based. Automations run in Home Assistant, but device commands and state updates rely on Tuya’s service. Local alternatives are device-specific and not every product exposes the keys or features they require.
Supported device types and the real limitation
Tuya can represent lights, switches, climate equipment, covers, cameras, fans, humidifiers, sensors, sirens, vacuums, valves, scenes, and other domains. Actual support depends on the product and the data points Tuya publishes through its SDK.
A device working in Smart Life does not guarantee that every feature will appear in Home Assistant. Some expose only power while specialized modes or energy data remain exclusive to the vendor app.
What you need
- Smart Life or Tuya Smart installed with an active account.
- At least one working device in that account.
- A second screen to display the QR code while the phone scans it.
- The account User Code—not your email address or a device ID.
- The same account and region throughout setup.
Find the User Code
- Open Smart Life or Tuya Smart.
- Select Me, then the gear icon.
- Open Account and Security.
- Copy the User Code shown near the bottom.
Add Tuya to Home Assistant
- Open Settings → Devices & services.
- Select Add integration and search for Tuya.
- Enter the User Code and requested information.
- When Home Assistant shows a QR code, use the scanner in Smart Life/Tuya Smart.
- Approve linking, wait for devices, and assign areas.
- Test one command and confirm the state also updates in the vendor app.
Add devices later
Pair the new device in Smart Life or Tuya Smart first. Then open the Tuya integration menu in Home Assistant and choose Reload. You should not delete and recreate the integration for every device.
Scenes and critical automations
Scenes created in Tuya can appear in Home Assistant and may expose complex modes the SDK does not model as entities. For heating, security, or leak protection, account for Internet and cloud outages and design a safe fallback.
Diagnose missing features
- Open the device under the Tuya integration.
- Download diagnostics from the device menu.
- Inspect
status,status_range, andfunction. - If all three are empty, Tuya’s SDK is not publishing useful controls for that product.
- If data exists but entities are missing, update Home Assistant and review issues for the exact model before installing a custom component.
Common problems
- QR scan fails: use Smart Life/Tuya Smart, verify the account, and display the QR on a second screen.
- Device is missing: reload the integration and verify account and region.
- Repeated reauthentication: sign in to iot.tuya.com, accept pending terms, restart Home Assistant, and reconfigure.
- Controls are missing: inspect diagnostics; this may be an SDK limitation.
- Slow or unavailable: check Internet and Tuya service health before rebuilding Home Assistant.
Official cloud versus local control
| Approach | Benefit | Tradeoff |
|---|---|---|
| Official Tuya integration | Simple setup and maintenance in Home Assistant | Cloud and SDK dependency. |
| Community local integration | May reduce cloud use and latency on supported devices | Keys, compatibility, and maintenance are more complex. |
| Replace with Zigbee, Matter, or local hardware | Greater independence when the device supports it | May require a coordinator or replacement hardware. |
Do not rebuild a stable system for ideology alone. Decide based on features, reliability, privacy, and your ability to maintain the solution. For new purchases, favor well-documented local protocols.
Security and privacy
- Enable MFA on the Tuya account when available.
- Do not share QR codes or diagnostics without reviewing personal data.
- Remove old devices and revoke access you no longer use.
- Do not rely on a cloud-only device as the sole control for a critical safety function.
- Keep the app, device firmware, and Home Assistant current.
Bottom line
The official Tuya setup is far easier than the old developer-project process: obtain the User Code, scan the QR code, and reload when adding devices. The core limitation remains that Home Assistant can only expose data Tuya publishes. Start with the official integration and move local only for a defined requirement.
Primary source: official Home Assistant Tuya documentation.
Continue reading
Next related guide · 4 min read
Connect Home Assistant to Google Home for Free: Manual Setup
Updated August 27, 2026. You can connect Home Assistant to Google Home without paying for Home Assistant Cloud, but the manual route requires public…
Continue with this article