
As an Amazon Associate, I earn from qualifying purchases. En calidad de Afiliado de Amazon, obtengo ingresos por las compras adscritas que cumplen los requisitos aplicables. If you buy through these links, the price is the same for you and Amazon pays me a small commission that helps keep Tecnoyfoto running.
Last updated on March 25, 2026
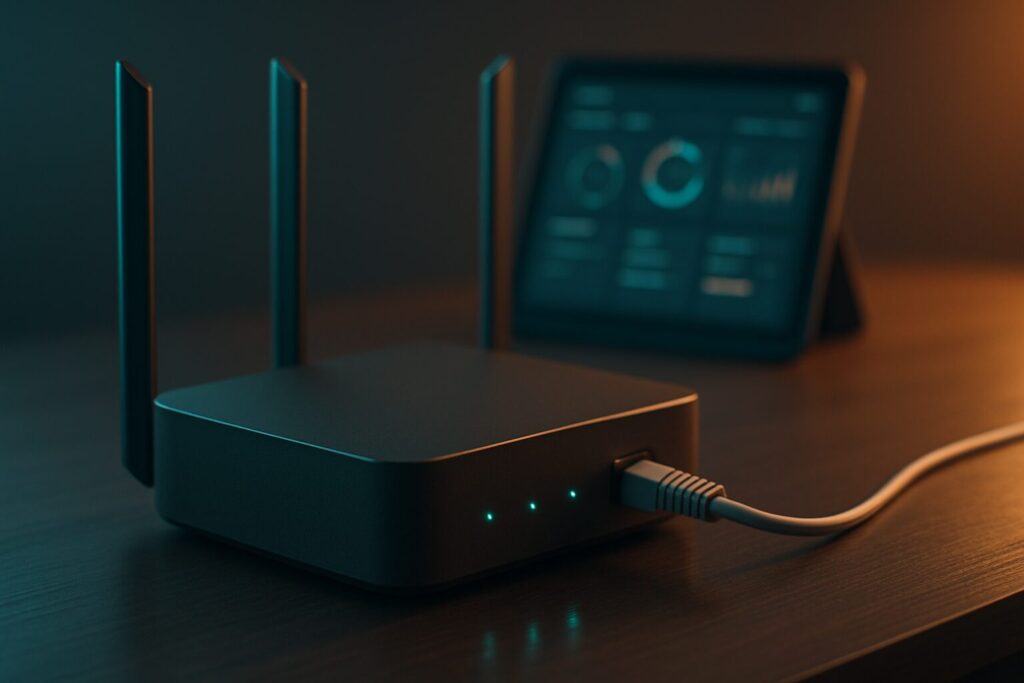
In the fast-paced world of IoT and smart homes, network stability is king. While your router does a decent job automatically assigning IP addresses, sometimes “decent” isn’t good enough. Knowing how to set up an IP address reservation for a specific device is a crucial skill for any tech enthusiast in 2026. It ensures your most important gear is always reliable and easy to find on your network.
Dynamic vs. Static IP: The Showdown for Network Stability
By default, most home networks use the Dynamic Host Configuration Protocol (DHCP). This system, managed by your router, acts like a friendly host at a party, handing out temporary IP addresses to every device that connects. It’s incredibly convenient: you connect a new smartphone, laptop, or smart plug, and it just works—no configuration needed. The main drawback is that this IP address is essentially “on loan.” It can change if a device reboots or is disconnected for a while.
For 95% of your devices, this is perfectly fine. But for mission-critical hardware, we need a static IP address—a permanent, unchanging address that ensures we can always find it. This is where IP address reservation comes in.
So, when is setting a static IP absolutely essential? Here are the most common scenarios in 2026:
- Home Servers: If you’re running a smart home brain like Home Assistant, a Plex media server, or a NAS, its IP must never change. This guarantees you can reliably access it from other devices on your network.
- Shared Network Devices: Network printers, scanners, or shared hard drives need a fixed address so every computer in the house can connect without a hitch.
- IP Security Cameras: To reliably access your camera’s video stream, especially with third-party NVR software, a static IP is non-negotiable.
- Port Forwarding: This is a big one. If you need to access a device on your local network from the internet (e.g., for a game server, NAS, or remote Home Assistant access), the device’s internal IP must be static. Otherwise, your port forwarding rule will break the moment the IP changes.
- Critical IoT Infrastructure: Key network components like Zigbee Ethernet coordinators (such as the SMLIGHT SLZB-06) benefit immensely from a fixed IP, ensuring maximum system stability.
How to Set a Static IP Address: The Two Core Methods
There are two ways to give a device a static IP. While both achieve the same goal, my recommendation as an engineer is crystal clear: DHCP reservation via your router is almost always the superior choice.
Method 1: DHCP Reservation on the Router (Highly Recommended)
This method involves telling your router, “Hey, whenever this device with this specific MAC address connects, *always* give it this exact same IP address.” It’s the cleanest, most centralized way to manage your network.
Advantages:
- Centralized Management: All configuration happens in one place: the router. You never have to touch the individual devices.
- Zero IP Conflicts: The router knows which IPs it has reserved and won’t assign them to any other device, preventing the dreaded IP conflict error.
- Effortless Flexibility: If you ever change your network settings (like your DNS servers), you only have to adjust it on the router, and all devices will automatically inherit the new configuration.
Method 2: Manual Static IP Configuration on the Device
This approach involves manually setting the IP address, subnet mask, gateway, and DNS servers directly on the device itself (in the network settings of your Raspberry PiAffiliate link, Windows PC, etc.).
Disadvantages:
- High Risk of IP Conflict: If you manually assign an IP that your router’s DHCP server later gives to another device, you’ll create a conflict that knocks both devices offline.
- Decentralized Mess: You have to keep track of which IP you’ve assigned to which device. If you get a new router or change your IP range, you have to reconfigure every single device by hand.
- Complex and Error-Prone: You need to enter not just the IP, but also the subnet mask, gateway, and DNS correctly. It’s easy to make a typo and break connectivity.
Comparison Chart: Router Reservation vs. Device-Side Setup
| Feature | Router DHCP Reservation | Manual IP on Device |
|---|---|---|
| Management Ease | High (All-in-one) | Low (Per-device) |
| Conflict Risk | Zero | High |
| Expert Recommendation | Highly Recommended | Use only as a last resort |
| Network Flexibility | High (Global changes are easy) | Low (Requires manual changes) |
Your 2026 Step-by-Step Guide to IP Address Reservation
While the user interface varies between manufacturers (like ASUS, TP-Link, eero, or your ISP-provided gateway), the process for setting up a DHCP reservation on your router follows the same basic steps.
Step 1: Find Your Device’s MAC Address
The MAC address is the unique hardware identifier for your device’s network card. Think of it like the VIN on your car. The easiest way to find it is to log into your router’s web interface and look for a “Client List” or “Connected Devices” page. You’ll see a list of all connected devices, their current IP, and their corresponding MAC address. Jot down the MAC address of the device you want to give a static IP. If you can’t find it there, check out our guide on how to find the MAC address on any device.
Step 2: Log into Your Router’s Admin Panel
Open a web browser and type in your router’s IP address (the gateway). The most common ones are 192.168.1.1 or 192.168.0.1. If those don’t work, Google “default router IP for [your brand and model]”. You’ll need the admin username and password, which are usually printed on a sticker on the router itself.
Step 3: Locate and Configure the IP Address Reservation Setting
This is the part that varies the most. Dig through your router’s settings for a section called:
- Address Reservation
- Static DHCP
- Static IP Assignment
- DHCP Bindings or LAN IP Bindings
Once you find it, the process is usually intuitive. You’ll see a button to “Add” a new reservation. It will ask for the MAC address you noted earlier and the IP address you want to assign to it. Pro-Tip: For better organization, choose an IP that’s outside the normal DHCP range (e.g., if the range is 192.168.1.100 to 192.168.1.200, use 192.168.1.50). However, most modern routers are smart enough to avoid conflicts even if you pick an address inside the dynamic range.
Save your changes and reboot the device in question. That’s it! From now on, it will always get that same IP address.
Security Implications of Using a Static IP
Assigning a static IP makes a device a more predictable target on your network. If you also open ports to that device, you’re creating a direct doorway from the internet. Therefore, it’s crucial to take these precautions:
- Use Strong Passwords: Ensure the device with the static IP (your Home Assistant server, IP camera, etc.) is protected with a strong, unique password.
- Keep Firmware Updated: Software and firmware updates often contain critical security patches. Don’t ignore them.
- Consider Network Segmentation: For advanced security, you should segment your home network using VLANs. This isolates your IoT devices onto a separate network, so if one is compromised, it can’t access your personal computers.
- Use a VPN for Remote Access: Instead of opening ports, setting up a VPN server on your router is a far more secure alternative for accessing your local network from the outside world.
Common Troubleshooting Steps
Did something go wrong? Don’t worry, these are the most common issues and their solutions.
- Device won’t connect after reservation: 99% of the time, this is a typo in the MAC address. Go back into the router settings and verify every single character is correct.
- There’s an IP conflict: This happens when two devices end up with the same IP. It’s the classic symptom of manually setting a static IP on a device that the router then gives to something else. The fix is simple: let the router manage everything via DHCP reservation.
- I can’t find the option on my router: While rare in 2026, some very basic or old ISP-provided routers may lack this feature. In that case, you’ll have to resort to setting the static IP on the device itself. Just be absolutely sure to pick an IP address outside of the router’s DHCP range to avoid conflicts.
Bottom line: taking a few minutes to complete an IP address reservation for your key devices is one of the best practices for building a robust, reliable home network that’s ready for the demands of the modern smart home. It’s a small investment of time that will save you countless headaches down the road.