

Updated August 26, 2026 · Comparison, pull-up resistor, safe GPIO selection, and ESPHome configuration reviewed.
The DHT11 and DHT22 are inexpensive digital temperature and humidity sensors. They are useful for learning ESPHome or making a simple environmental measurement, but their capabilities differ and both require correct wiring. This guide uses a GPIO that does not control boot mode and an external pull-up resistor when the module does not already include one.
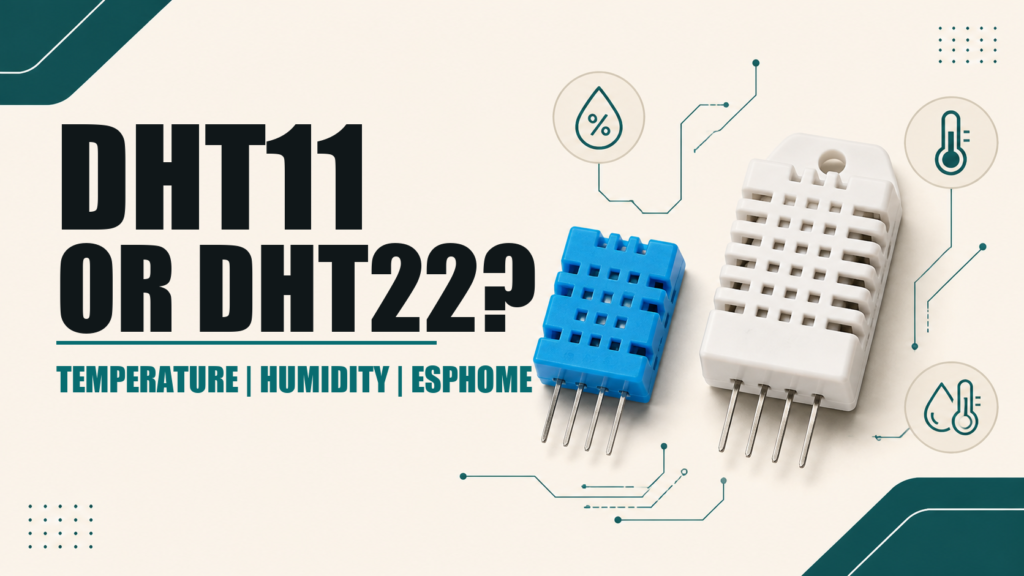
DHT11 vs DHT22
| Characteristic | DHT11 | DHT22 / AM2302 |
|---|---|---|
| Typical temperature range | 0 to 50 °C | -40 to 80 °C |
| Typical temperature accuracy | ±2 °C | ±0.5 °C |
| Typical humidity range | 20 to 80% RH | 0 to 100% RH |
| Typical humidity accuracy | ±5% RH | ±2 to 5% RH depending on range and version |
| Maximum reading rate | About once per second | About once every two seconds |
| Best use | Basic experiments and minimum cost | Wider range and better accuracy |
Specifications vary between manufacturers and clones. A DHT22 is generally the better of these two for room monitoring. For new projects that need stable measurements, I²C sensors such as SHT3x or BME280 usually provide better repeatability. The HTU21D ESPHome guide covers another digital option.
Bare sensor or breakout module
A bare four-pin sensor normally needs a pull-up resistor between DATA and 3.3 V. ESPHome recommends about 4.7 kΩ, with 1–10 kΩ commonly working. Many three-pin breakout modules already include this resistor, so inspect the board before adding another.
- VCC: 3.3 V in this build.
- DATA: GPIO4.
- NC: no connection on the four-pin package.
- GND: common ground.
- Pull-up: 4.7 kΩ between DATA and 3.3 V if not included.
Always view the sensor from the orientation shown in its own datasheet. Breakout modules can rearrange the connector. Reversing VCC and GND can permanently damage the sensor.
Why the old GPIO0 example should be replaced
GPIO0 selects the ESP8266 boot mode. If a sensor, resistor, or wiring fault holds it low during power-up, the microcontroller enters programming mode instead of starting ESPHome. GPIO2 and GPIO15 are also boot-strapping pins.
Use GPIO4, labeled D2, on a Wemos D1 mini or NodeMCU. GPIO5 (D1) is another common choice. On an ESP32, GPIO27 or another suitable free pin can be used after checking the exact board. Do not confuse D2 with GPIO2: D2 is GPIO4 on a Wemos D1 mini.
ESPHome configuration for DHT22
sensor:
  - platform: dht
    pin: GPIO4
    model: DHT22
    temperature:
      name: "Room temperature"
      accuracy_decimals: 1
    humidity:
      name: "Room humidity"
      accuracy_decimals: 1
    update_interval: 30s
Setting model: DHT22 avoids relying on automatic detection. An interval of 30 or 60 seconds is appropriate for a room and reduces failed reads. Polling faster does not make the sensor respond more accurately.
ESPHome configuration for DHT11
sensor:
  - platform: dht
    pin: GPIO4
    model: DHT11
    temperature:
      name: "DHT11 temperature"
    humidity:
      name: "DHT11 humidity"
    update_interval: 30s
AM2302 normally belongs to the DHT22 family. ESPHome also lists specific models for variants that do not exactly match the expected protocol. Read the logs before changing model options at random.
Placement and enclosure
- Place it in moving air, away from the board’s regulator.
- Avoid direct sun, heaters, window drafts, and condensation.
- Do not seal it inside an unventilated enclosure.
- Use short wiring during initial testing.
- For several-meter runs, improve wiring and decoupling or choose a more suitable bus.
Heat from an ESP8266 or power supply in the same box can raise the reported temperature. Physically separate the DHT and provide lower and upper vents so air can circulate.
Erratic readings and NaN values
| Problem | Recommended check |
|---|---|
| No readings | Pinout, common ground, model, and actual GPIO number |
| Checksum errors | 4.7 kΩ pull-up, shorter cable, and stable power |
| ESP8266 will not boot | Move from GPIO0/GPIO2/GPIO15 to GPIO4 or GPIO5 |
| Temperature too high | Move the sensor away from the board and ventilate the enclosure |
| Humidity fixed or implausible | Compare against another instrument and replace a contaminated sensor |
Calibration in ESPHome
Do not correct a reading from a single comparison. Place both instruments together, allow them to stabilize, and compare several conditions. If the error is approximately constant, apply an offset:
temperature:
  name: "Room temperature"
  filters:
    - offset: -0.6
An offset cannot repair hysteresis, condensation, or a faulty sensor. Use a calibrated instrument for important decisions and document any correction.