

Updated August 27, 2026 · Pull-ups, inverted logic, long wiring, debounce, and safe failure states reviewed.
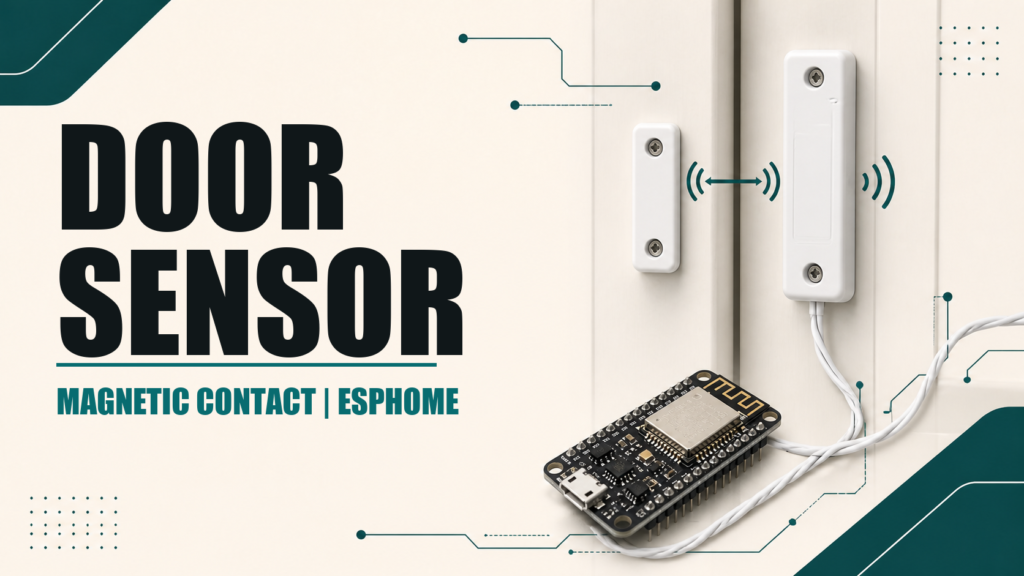
A magnetic door contact is one of the simplest and most reliable inputs for ESPHome. It consists of a magnet and a reed switch. Moving them together or apart changes the contact state. It needs no power of its own, and Home Assistant receives an open/closed door entity.
The YAML is easy. The important work is selecting the correct logic, preventing a floating input, and deciding what the system should report if a wire breaks or the microcontroller goes offline.
NO, NC, and magnet position
NO and NC describe the contact in a reference condition, but sellers do not always state whether the magnet is present or absent. Before installation, use a multimeter to test continuity in both positions.
- With the contact between GPIO and GND and a pull-up, closed circuit = LOW.
- Open circuit = the resistor pulls the GPIO HIGH.
- Home Assistant treats an ON
device_class: doorentity as open and OFF as closed.
If the reed closes when the door is closed, this wiring needs no inversion: closed door → LOW → OFF; open door → HIGH → ON. If your contact behaves the other way around, use inverted: true or another terminal on a changeover contact.
Recommended wiring
- One contact wire → GPIO4 (D2) on ESP8266.
- The other wire → GND.
- Enable the GPIO internal pull-up.
- On ESP32, use GPIO27 or another suitable free pin.
GPIO4 and GPIO5 are convenient ESP8266 choices. Avoid GPIO0, GPIO2, and GPIO15 because they control boot mode. Keep this low-voltage circuit separated from mains wiring.
ESPHome pull-up and debounce
binary_sensor:
  - platform: gpio
    name: "Front door"
    device_class: door
    pin:
      number: GPIO4
      mode:
        input: true
        pullup: true
      inverted: false
    filters:
      - delayed_on: 50ms
      - delayed_off: 50ms
The filters remove very short mechanical bounce. Do not add several seconds of delay unless the application requires it; a security-related door should report quickly. inverted: false can be omitted, but leaving it visible documents the intended logic.
When to use inverted: true
| Door | Read level | Desired state | Inverted |
|---|---|---|---|
| Closed | LOW | OFF / closed | false |
| Open | HIGH | ON / open | false |
| Closed | HIGH | OFF / closed | true |
| Open | LOW | ON / open | true |
Do not choose inversion only from a NO or NC label. Observe the GPIO level with the door open and closed, then confirm that Home Assistant shows the physical state correctly.
Long cables and electrical noise
The internal pull-up is usually sufficient for a short cable. On long runs, its high resistance makes the wire a better antenna. Use a twisted pair, one conductor for signal and one for GND, and keep it away from motors, relays, and mains wiring.
- Add an external 4.7–10 kΩ pull-up to 3.3 V near the microcontroller.
- A 100 nF capacitor from input to GND can suppress short impulses.
- Reduce physical noise before adding large software delays.
- Use proper isolation and surge protection for outdoor or inter-building runs.
A lower-value external pull-up makes the input less sensitive to noise, while consuming a few milliamps when the contact is closed. Never improvise protection on wiring exposed to lightning or mains voltage.
A safer response to a broken wire
For security-oriented installations, a cut cable should not look like a closed door. With a closed loop while the door is closed, a cable break opens the circuit and reports an open door. This is safer, although it cannot distinguish a real opening from a fault.
Detecting tamper separately requires end-of-line resistors and an analog input or an alarm module designed to supervise them. A simple digital GPIO and reed contact cannot distinguish every failure mode.
Restart and offline behavior
- At boot, ESPHome publishes the state read from the GPIO.
- If the node disconnects, Home Assistant should mark the entity unavailable.
- An alarm automation should treat unavailable as a condition to investigate, not as closed.
- Keep a USB recovery path for nodes installed in critical locations.
Physical installation
- Temporarily position both parts with removable tape.
- Test with the door open, closed, and slightly ajar.
- Allow for play, expansion, and door movement.
- Fasten the contact without distorting its housing.
- Provide strain relief so the cable cannot pull on the terminals.
The magnet and reed do not need to touch. Excessive separation causes intermittent changes, while a position with no tolerance can fail when the door drops by a few millimeters.
Troubleshooting
| Symptom | Check |
|---|---|
| Always open | Continuity, magnet distance, ground, and pull-up |
| State is reversed | Measure both states, then change inverted |
| False openings | Twisted pair, external pull-up, mains separation, and short filter |
| ESP8266 will not boot | Move away from GPIO0/GPIO2/GPIO15 |
| Home Assistant shows closed while offline | Review availability and automation logic |